
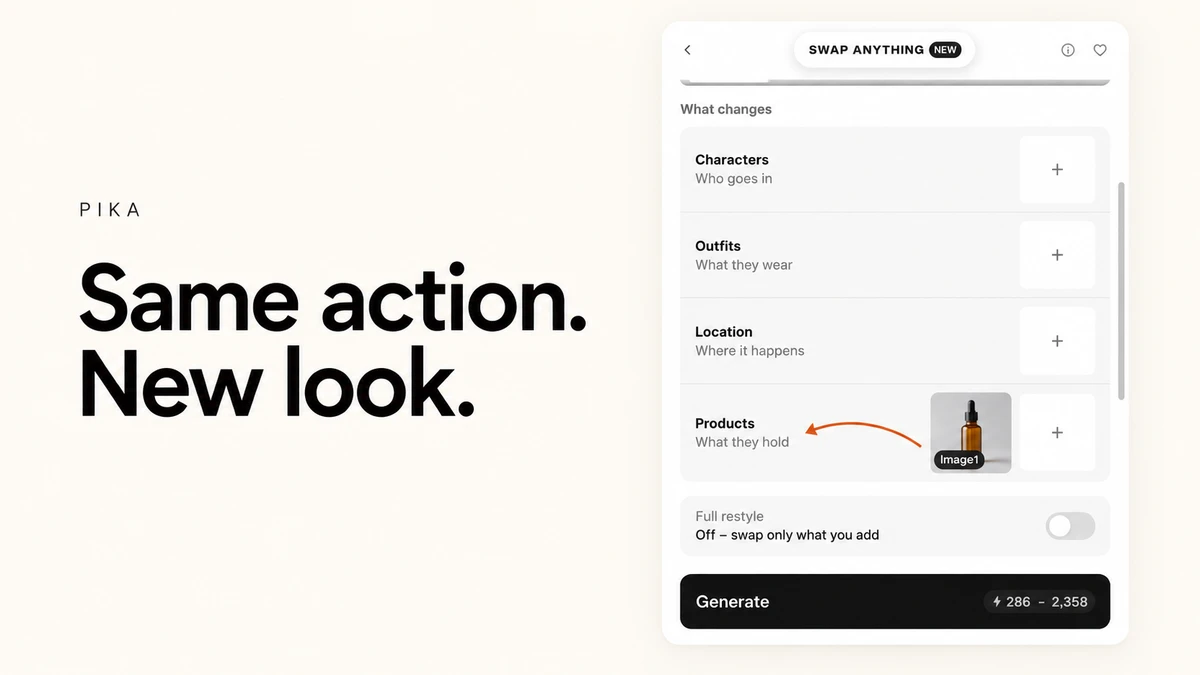
I explored Swap Anything with our existing mug clip and an amber bottle reference. This lets us inspect the source slot, four reference groups and the brief the app writes when a product is added.
We did not generate a swapped video. The cup and bottle below are setup assets, not a before-and-after result. Interface checked 10 October 2026.
See the prepared reference choices
What is Pika Swap Anything?
Swap Anything edits elements in an existing clip using reference images. The app describes keeping the original performance and timing while changing selected parts of the scene.
I would start with one change in a short, clear shot. A different jacket or a replacement product with a similar shape is easier to judge than a new cast, location and prop together. The app’s preservation claims still need checking in your own result.
| Goal | Reference group |
|---|---|
| Change who appears | Characters |
| Change what a person wears | Outfits |
| Change where the action happens | Location |
| Change an item shown or held | Products |
| Rebuild the overall look around references | Full restyle on, after reviewing the wider brief |
For camera position use Camera Director. For light alone use Relight Media. A targeted tool can make the request easier to judge.
Step 1: upload the video to edit
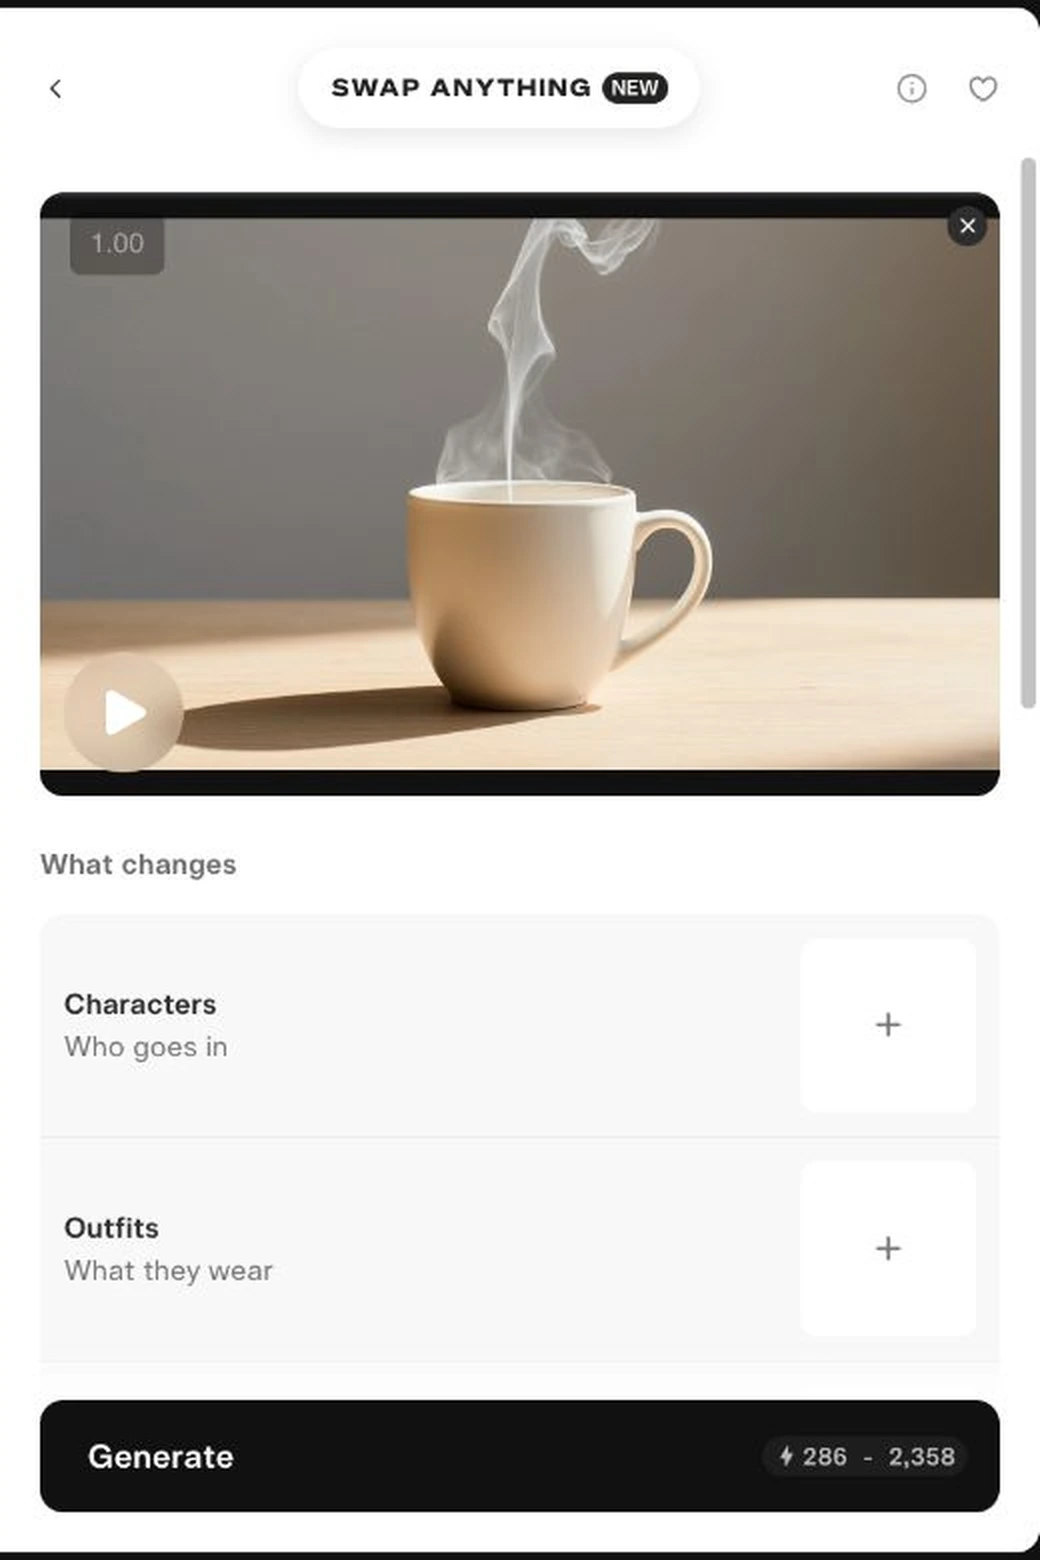
Open Swap Anything. Select Add a video, then Upload, or choose an available asset with Use Selection.
I used our five-second mug source. Wait for the preview to load, then play it. Change source lets you select another clip; the preview also has a remove control.
Step 2: put each image in the right group
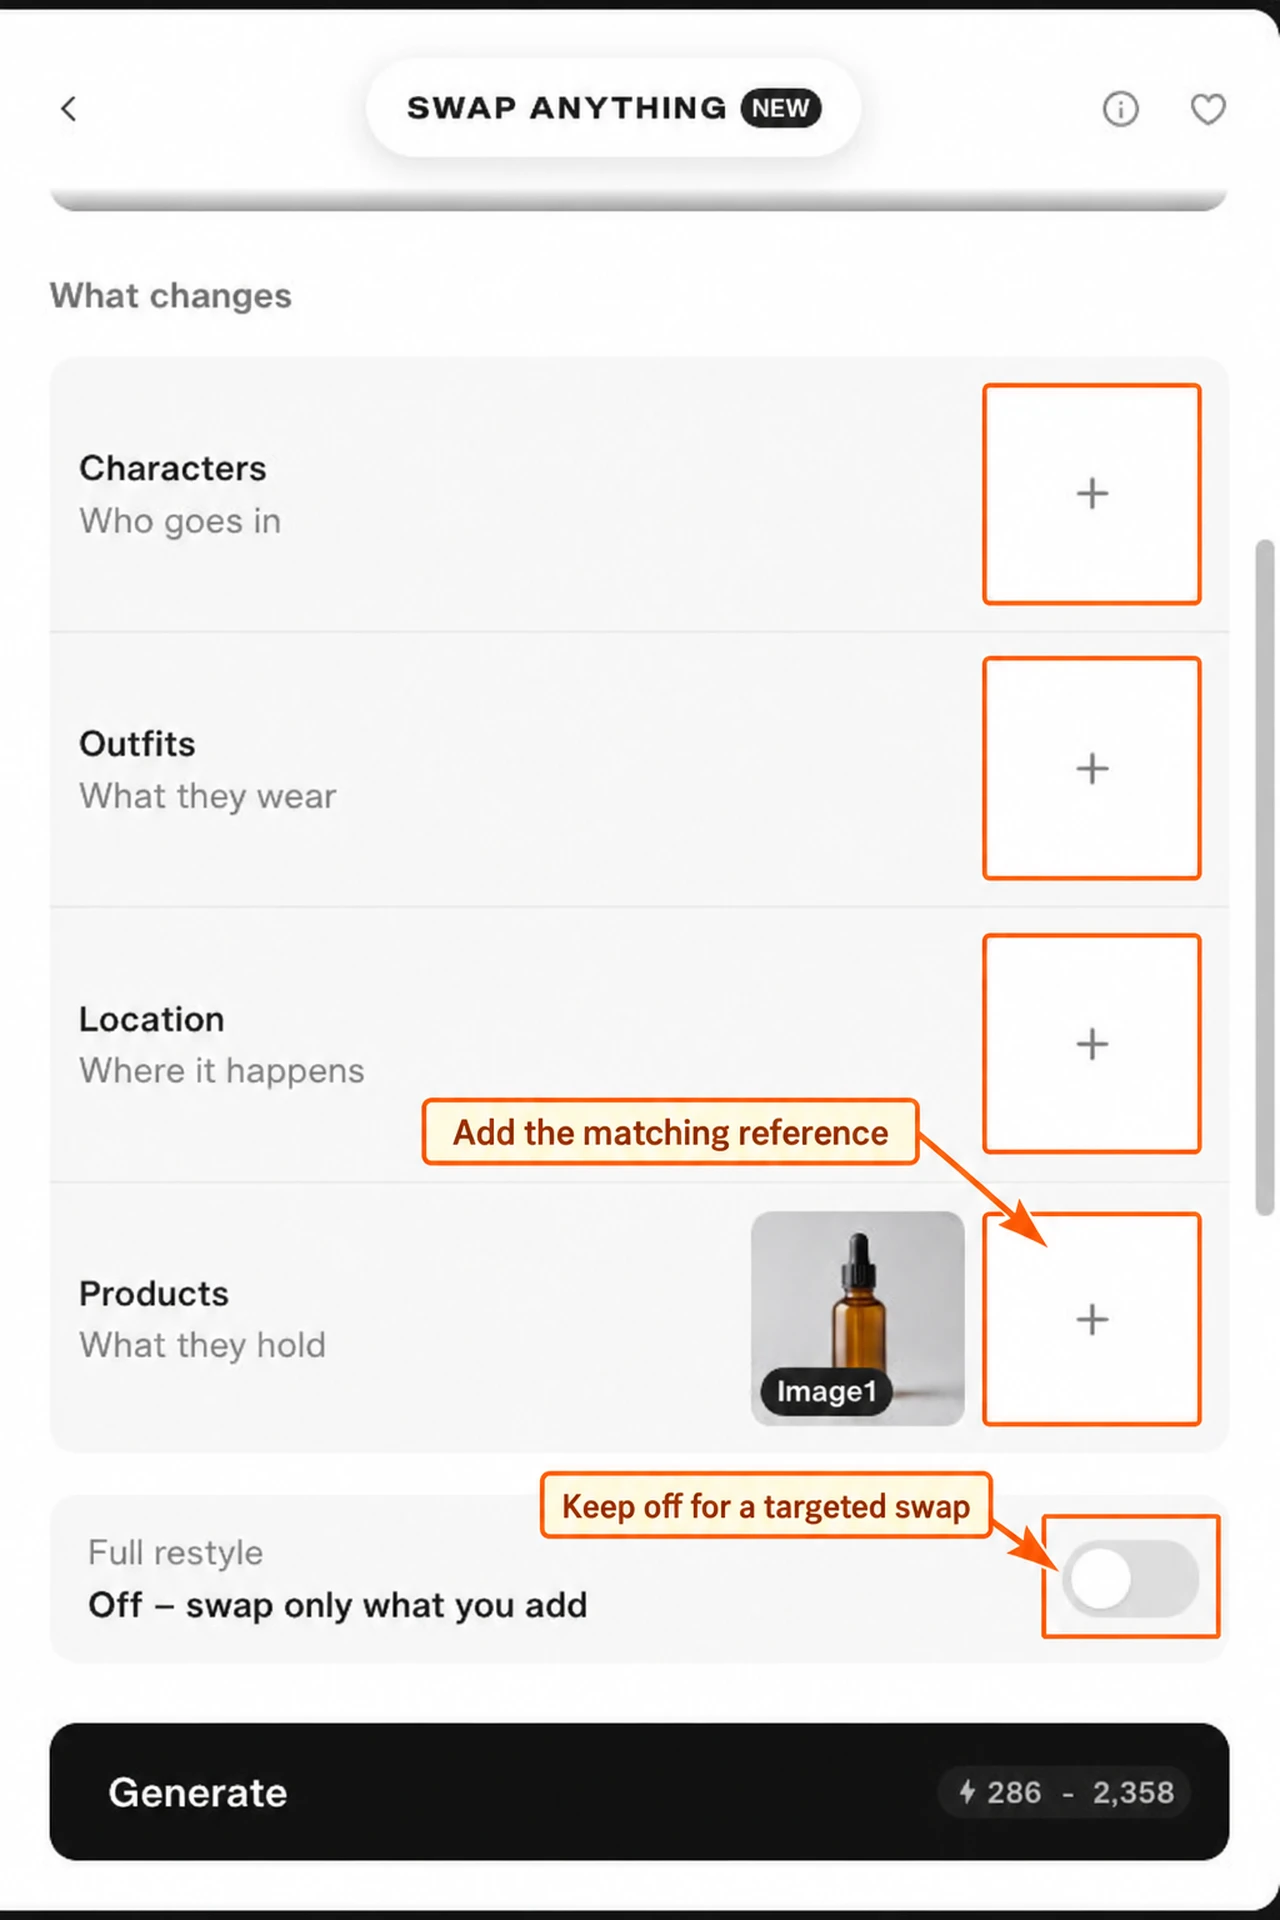
Click the + beside the group you want to change. The image picker exposes Assets and saved collections such as Characters, Products and Scenes. Upload a file or choose an available image.
| Group | A useful reference | What to make clear |
|---|---|---|
| Characters | Clear fictional-person portrait or full-body image | Which person in the source should change |
| Outfits | A photo that shows the garment’s cut and colour | Which person wears it; which clothes stay |
| Location | A clean photo of the intended setting | Indoor or outdoor, layout and light direction |
| Products | A clear item photo | Shape, size and which source item it replaces |
I attached our amber bottle reference under Products. It appears as Image1. An X removes it; Add lets you attach another reference.
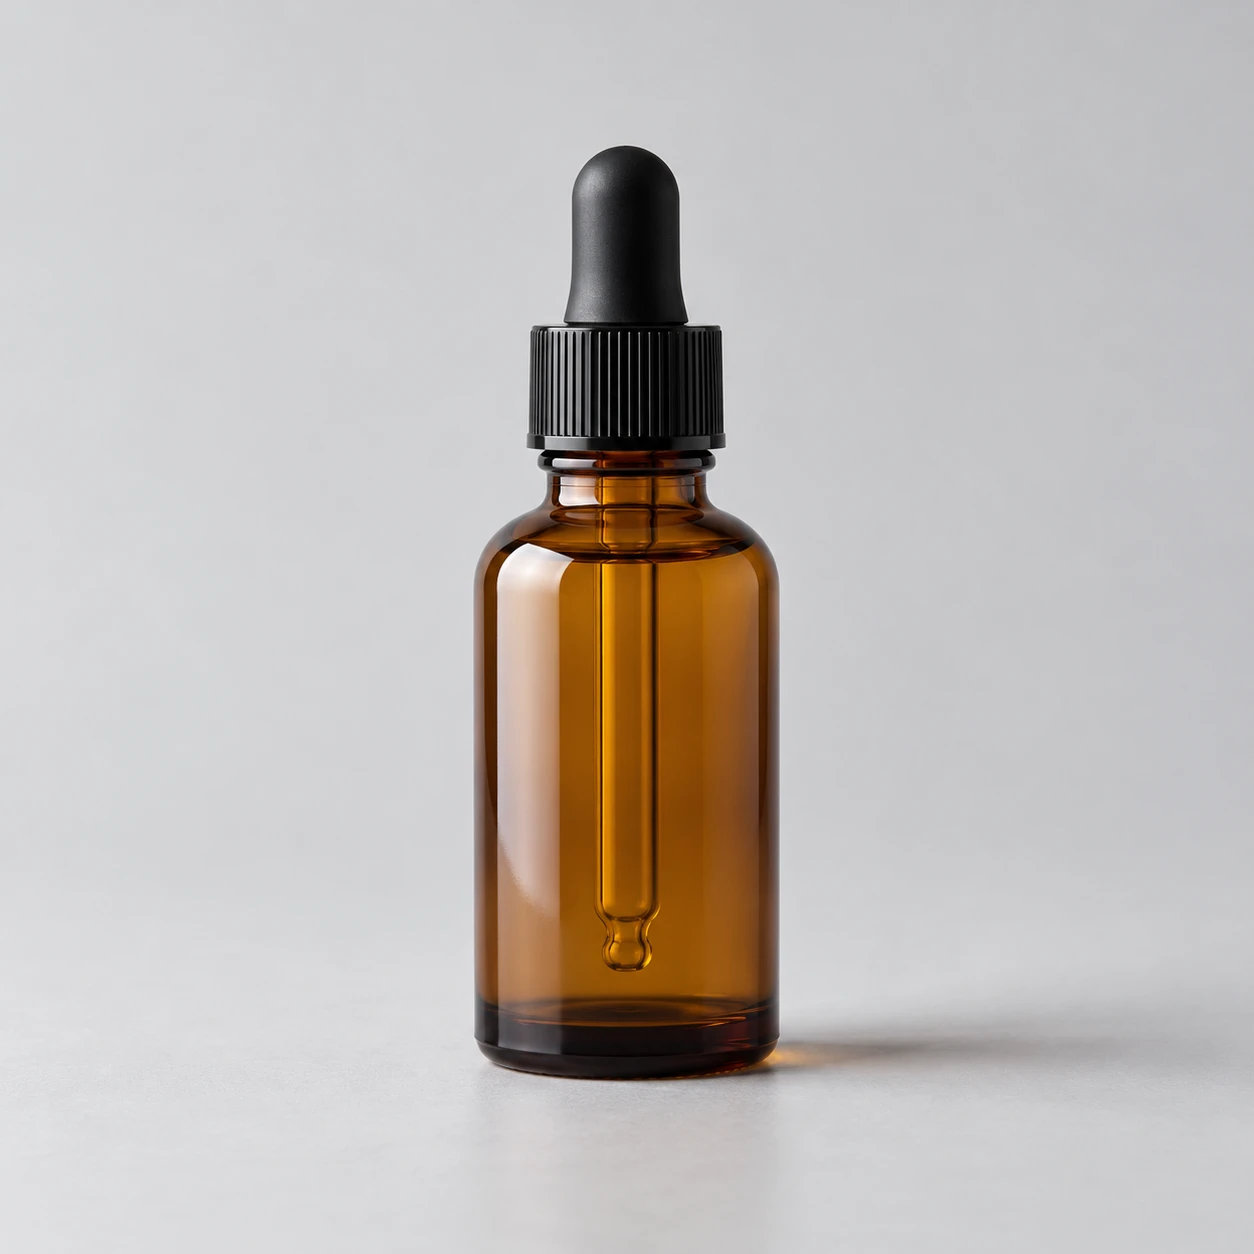
Our cup-to-bottle idea is deliberately a harder change: a pouring action made for an open mug may not fit a narrow bottle. For your first paid test, choose a replacement with similar geometry, or use a source with no hand interaction. We have not tested this swap.
Step 3: decide how much should change
With Full restyle off, the UI says “swap only what you add.” I would keep this off for one product, one outfit or one person.
With it on, the UI says “rebuild the look, keep only the motion.” The generated brief expands to include the cast, clothes, setting, palette and grade from the references. It is a broader request, not just another strength setting.
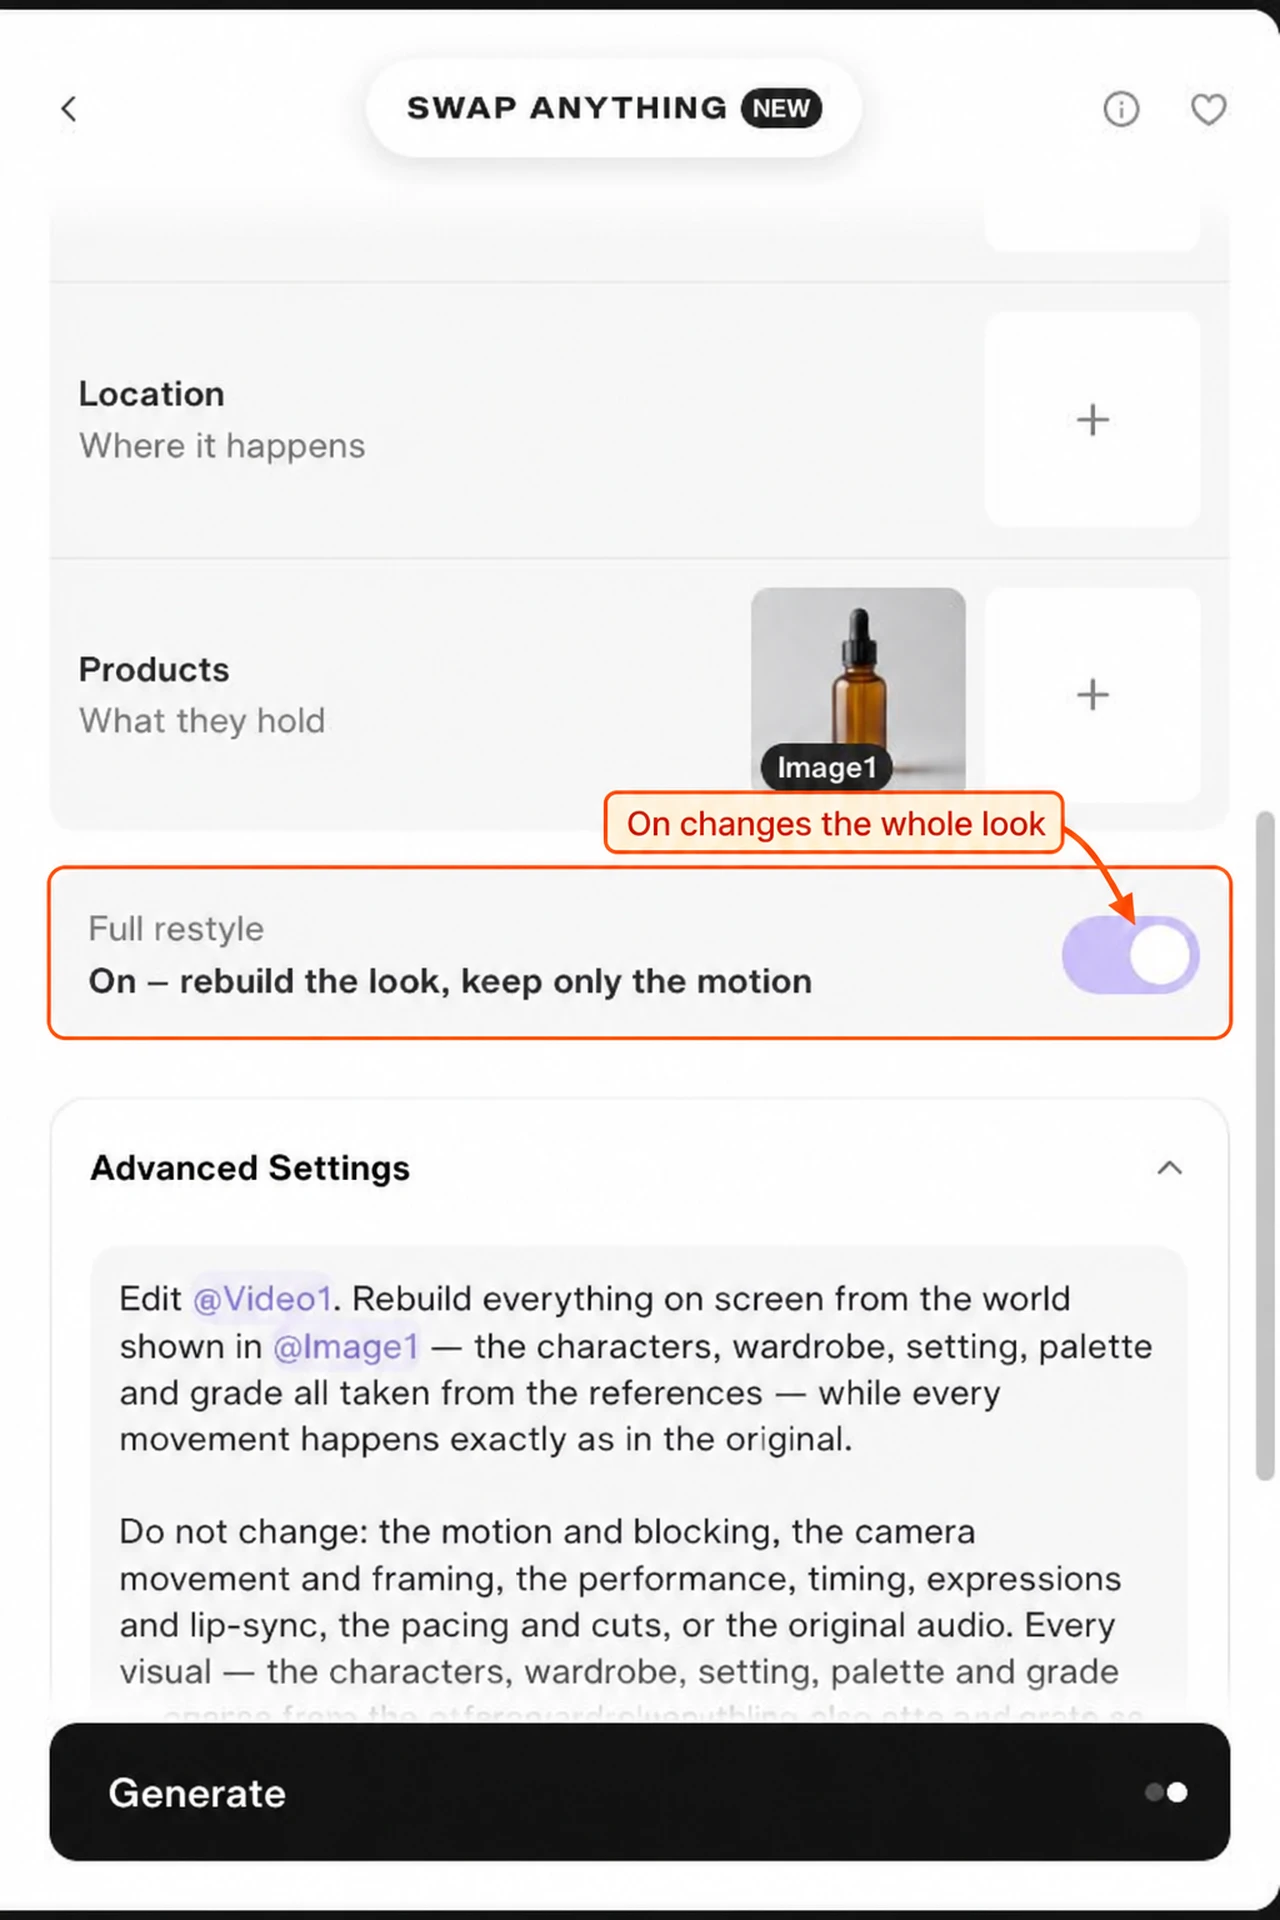
Do not enable a whole-scene restyle with only a product photo unless that wider interpretation is what you want.
Step 4: review Advanced Settings
Open Advanced Settings. Adding our product reference wrote a brief that mentions @Video1 and @Image1. Read it before submitting: those references must point to the source and image you intend.
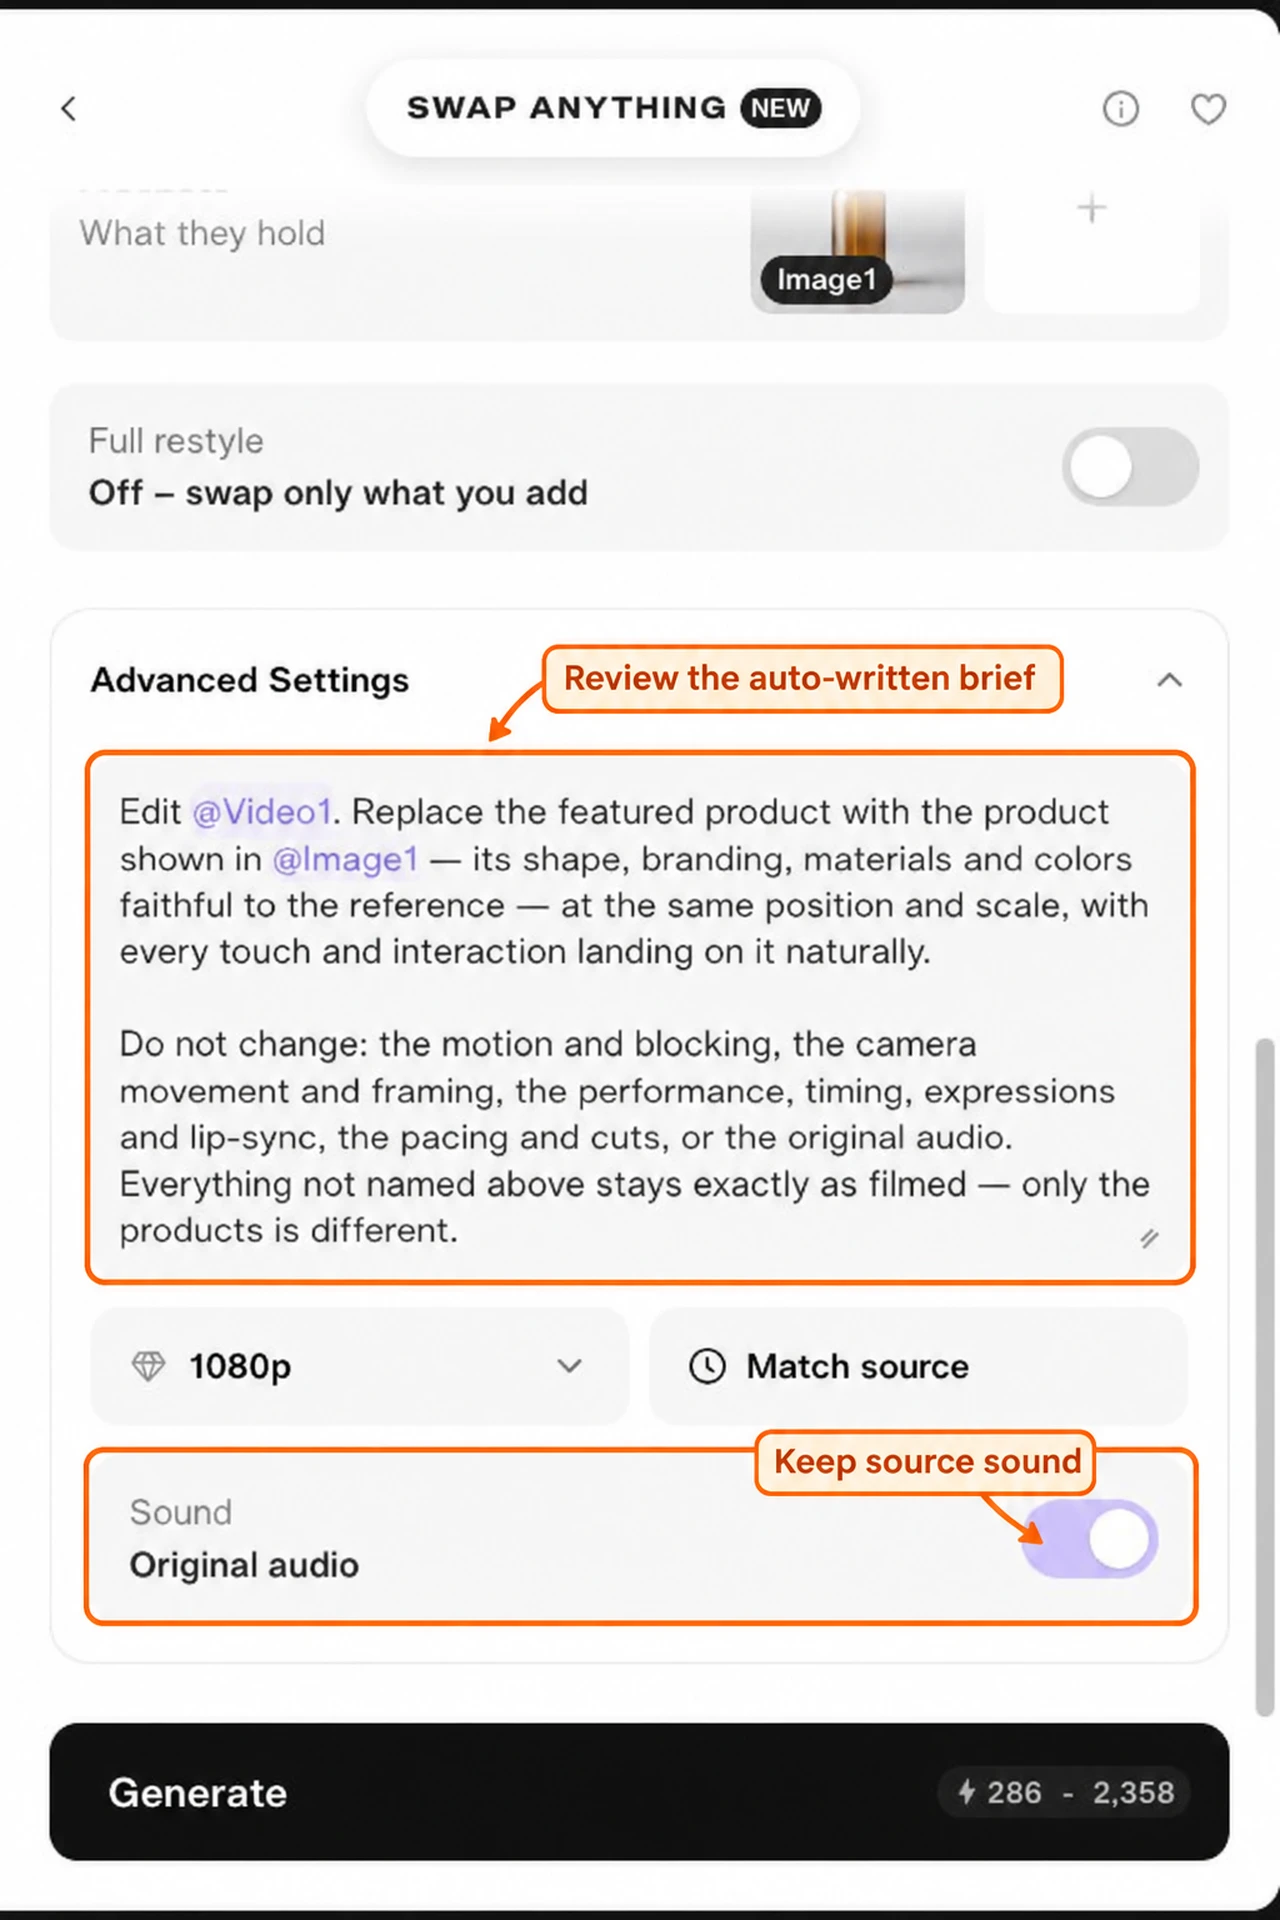
I would add a short scene-specific note such as:
Replace only the mug. Keep its position and size. Keep the countertop, pouring action and camera unchanged.
This is a suggested note, not a tested instruction. A note cannot guarantee an impossible interaction; choose a suitable source and reference first. The prompt box can be resized for easier reading.
Resolution and duration
The Resolution menu offered 480p, 720p and 1080p. Our source was matched at 1080p. I would choose a smaller available size for a draft, then assess the result before paying for a final version.
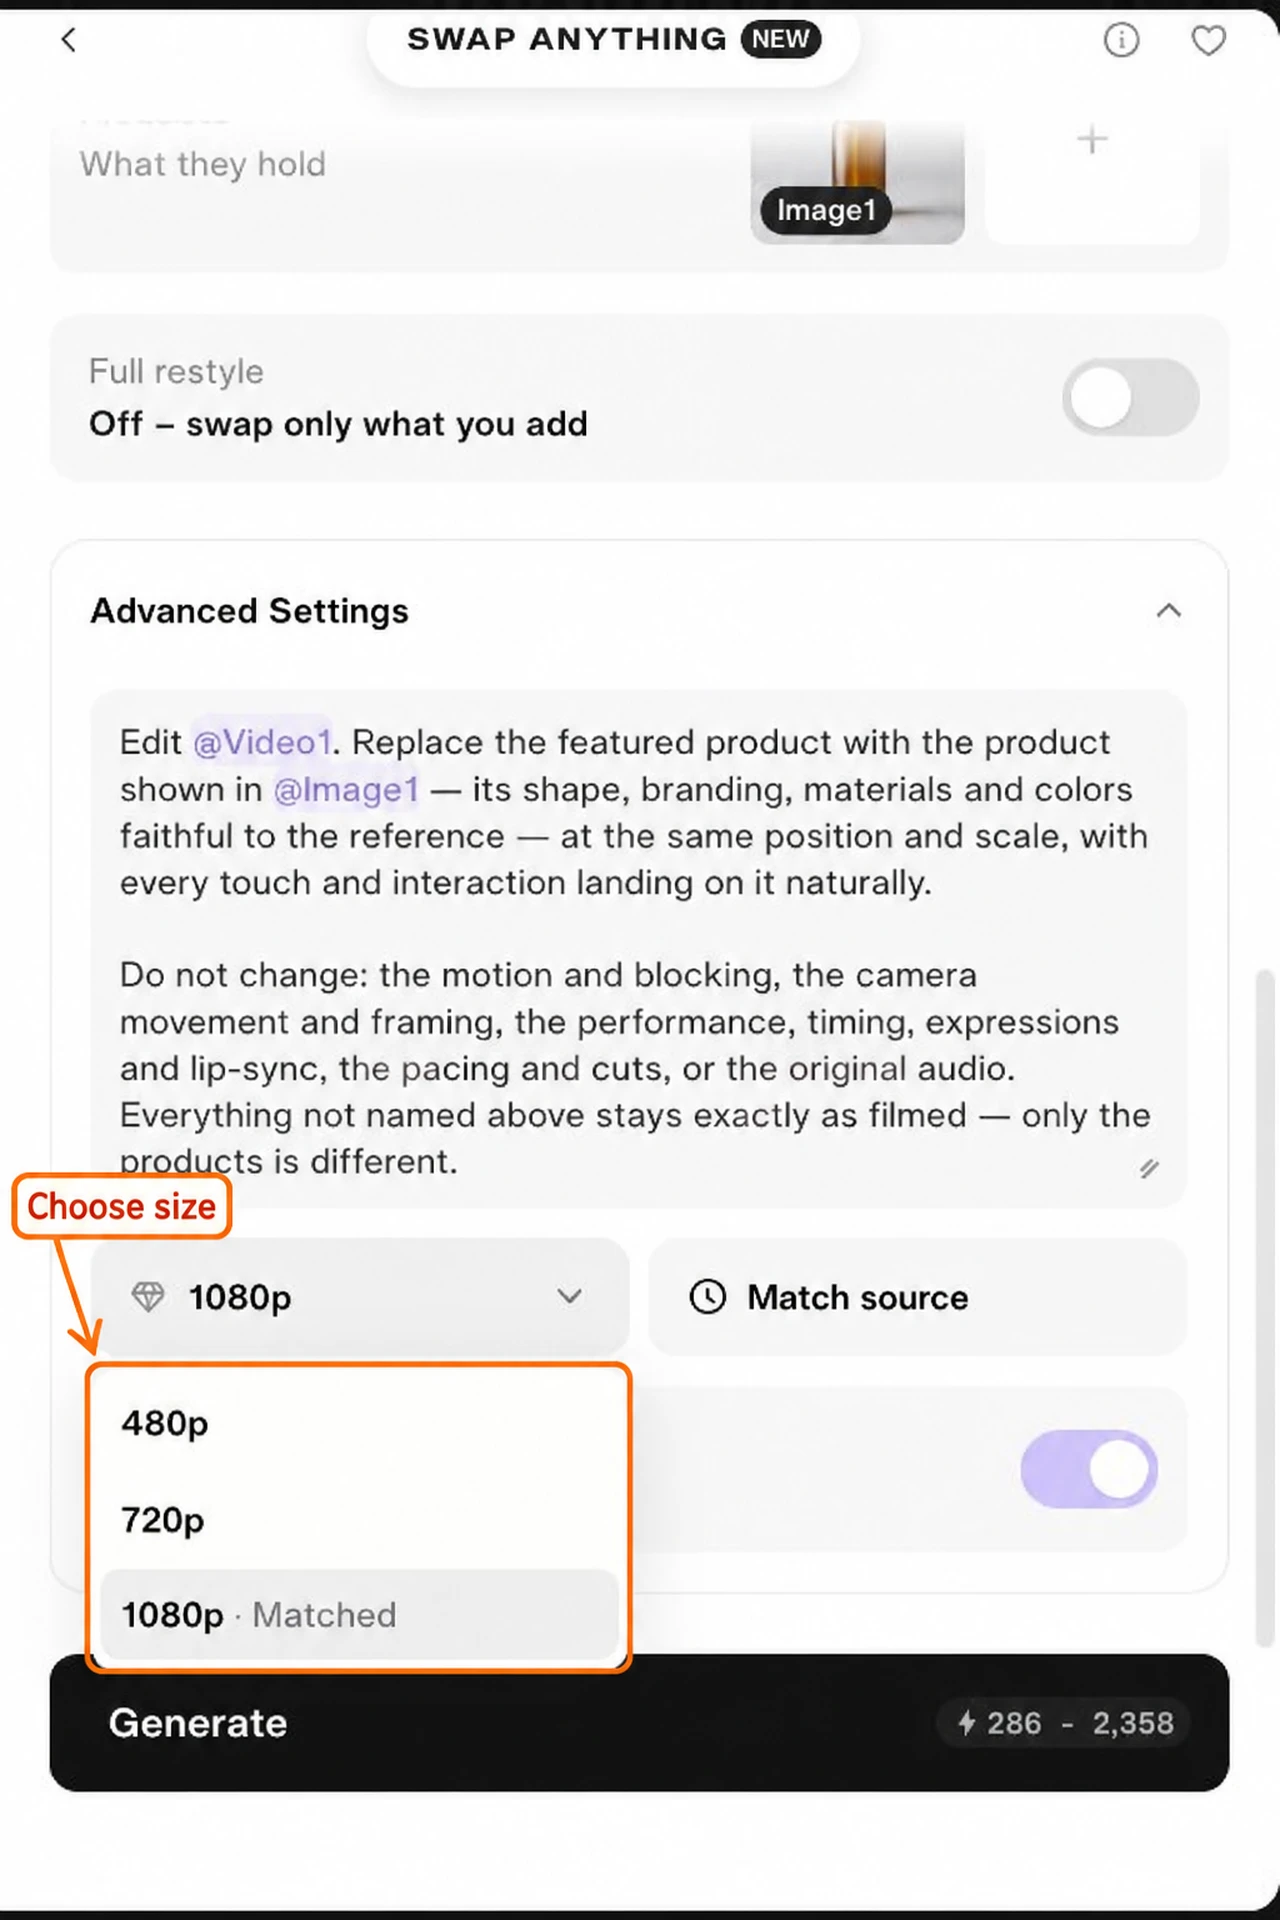
Match source was displayed for duration; I did not see a separate length picker or model menu in this form.
Sound
Sound was on and labelled Original audio. Keep it on when the source sound matters. The control can be switched off; listen to your own result before assuming all speech, timing or background sound has been preserved.
Step 5: check the whole credit range
Our loaded source and product-reference setup showed 286–2,358 credits. Before the references settled, another estimate of about 715 appeared. The quote can update as the setup finishes loading.
These are interface estimates, not charges. Read the full range and wait for the current quote before deciding. If the possible cost exceeds your budget, stop and simplify the task or choose a shorter source that still works.
We left Generate untouched. For your own submission, review the source, group assignments, restyle state, brief, size, sound and current quote together.
What to inspect after your own swap
Look at the changed item in every frame, especially when a hand crosses it. Check the source action, timing, subject size, reflections, edges and contact points. Then compare the parts you asked to keep.
If several things change unexpectedly, try one reference and Full restyle off. Keep a clear record of the setting you changed so the next attempt answers a specific question.