
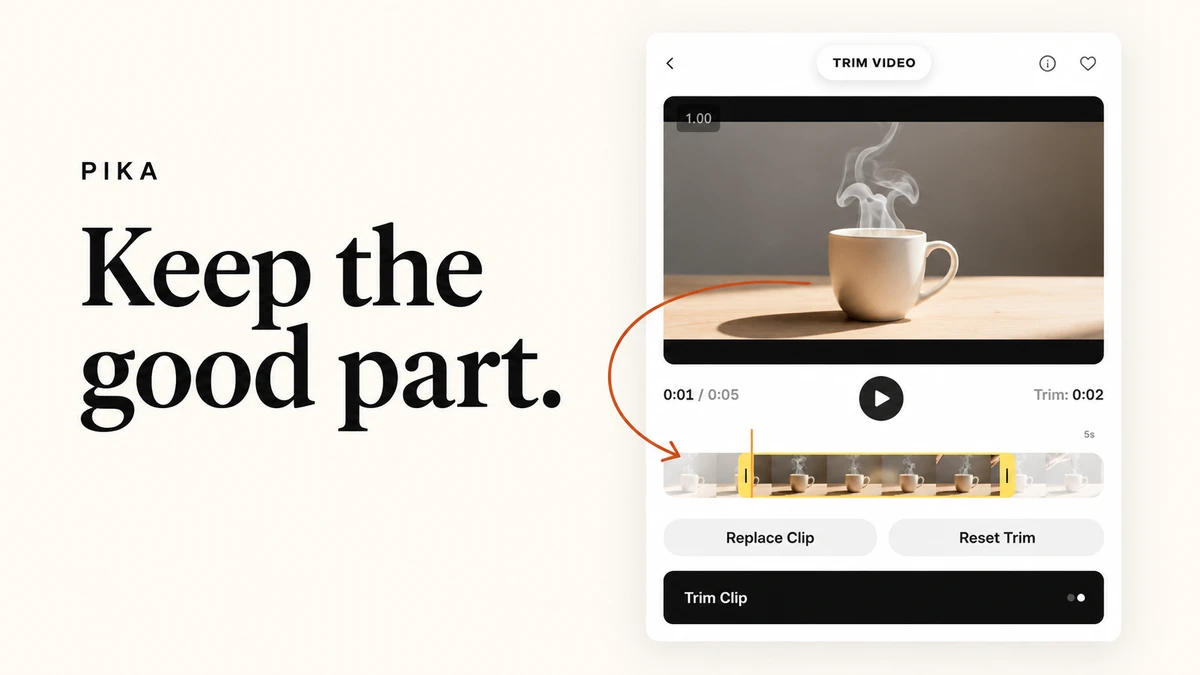
I opened Trim Video with our five-second mug clip and selected a shorter middle section. We can remove the slow opening and stop before the final pouring shot.
This walkthrough shows the source and trim selection. We did not press Trim Clip or create a new file. Interface checked 10 October 2026.
See the selected section
What is Pika Trim Video?
Trim Video selects a continuous section of an existing video. The app describes saving that section as a new asset for your library or other editing apps. It does not ask for a story prompt or a new scene.
I would use it to remove waiting time, cut a mistake at the end, or prepare a shorter source for another app.
| What you need | Use |
|---|---|
| Keep a shorter section | Trim Video |
| Add footage beyond the ending | Extend Video |
| Change a person, product or setting | Swap Anything |
| Add sound after the edit is settled | Soundtrack |
Step 1: add and preview your source
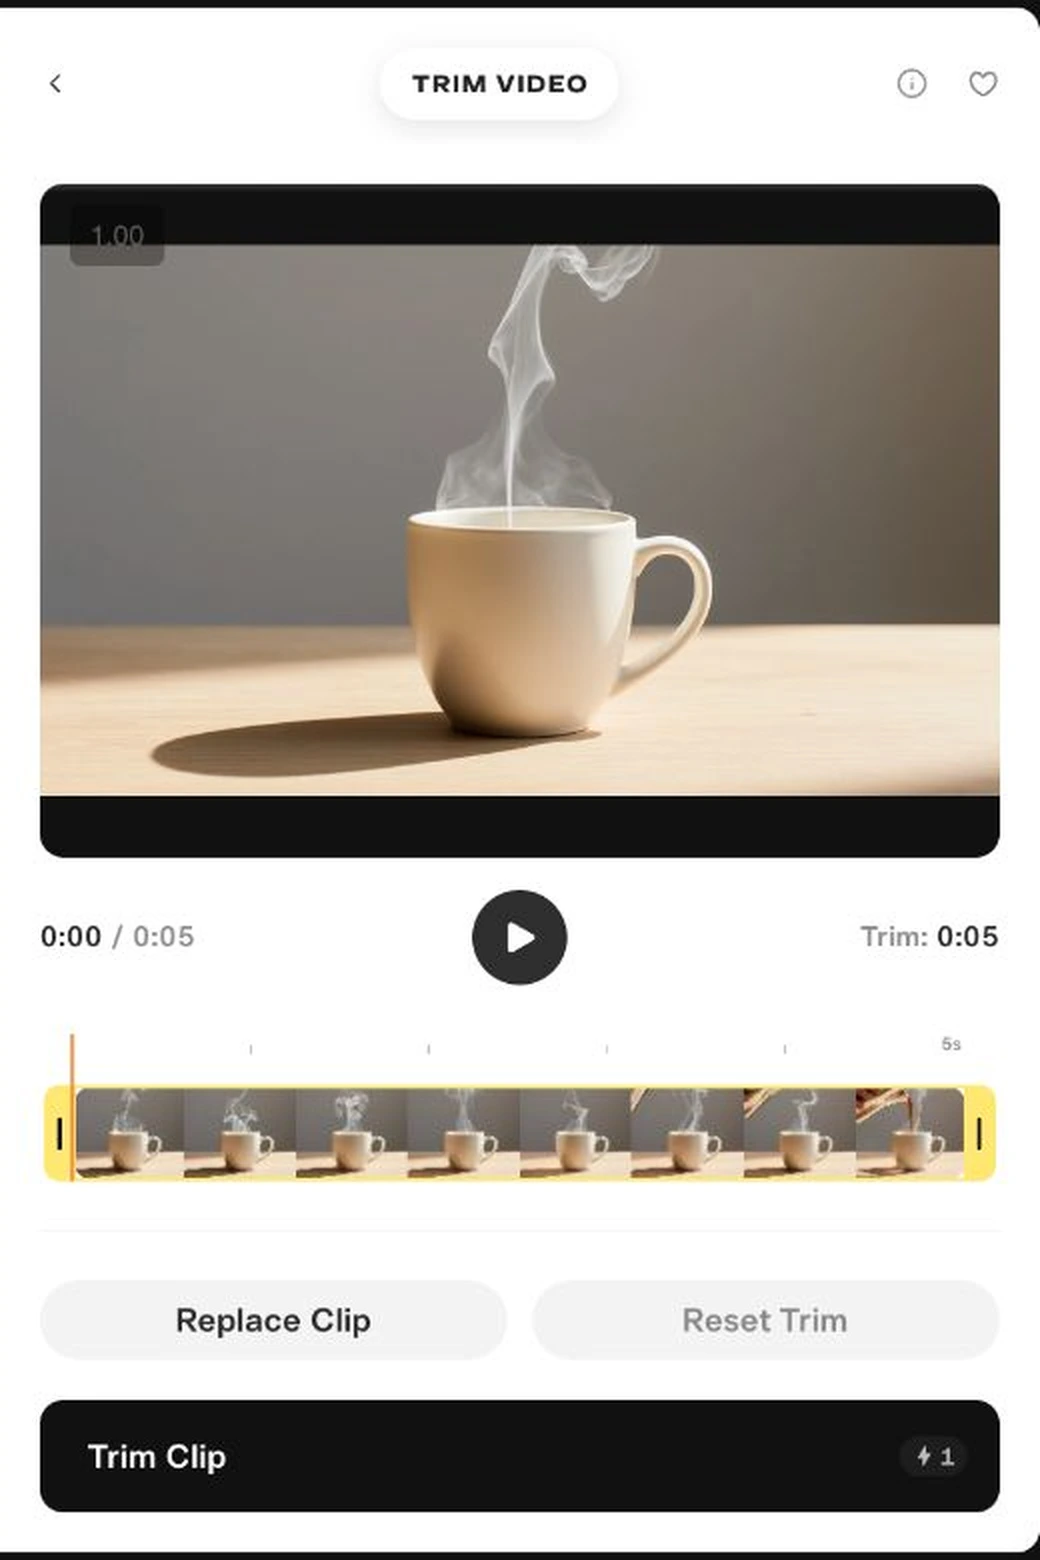
Open Trim Video. Select Add a video to trim, then Upload, or select an available asset and confirm Use Selection.
I attached our mug clip. Wait until upload progress disappears. The Play button and time display help you locate the part worth keeping.
Step 2: drag the start handle inward
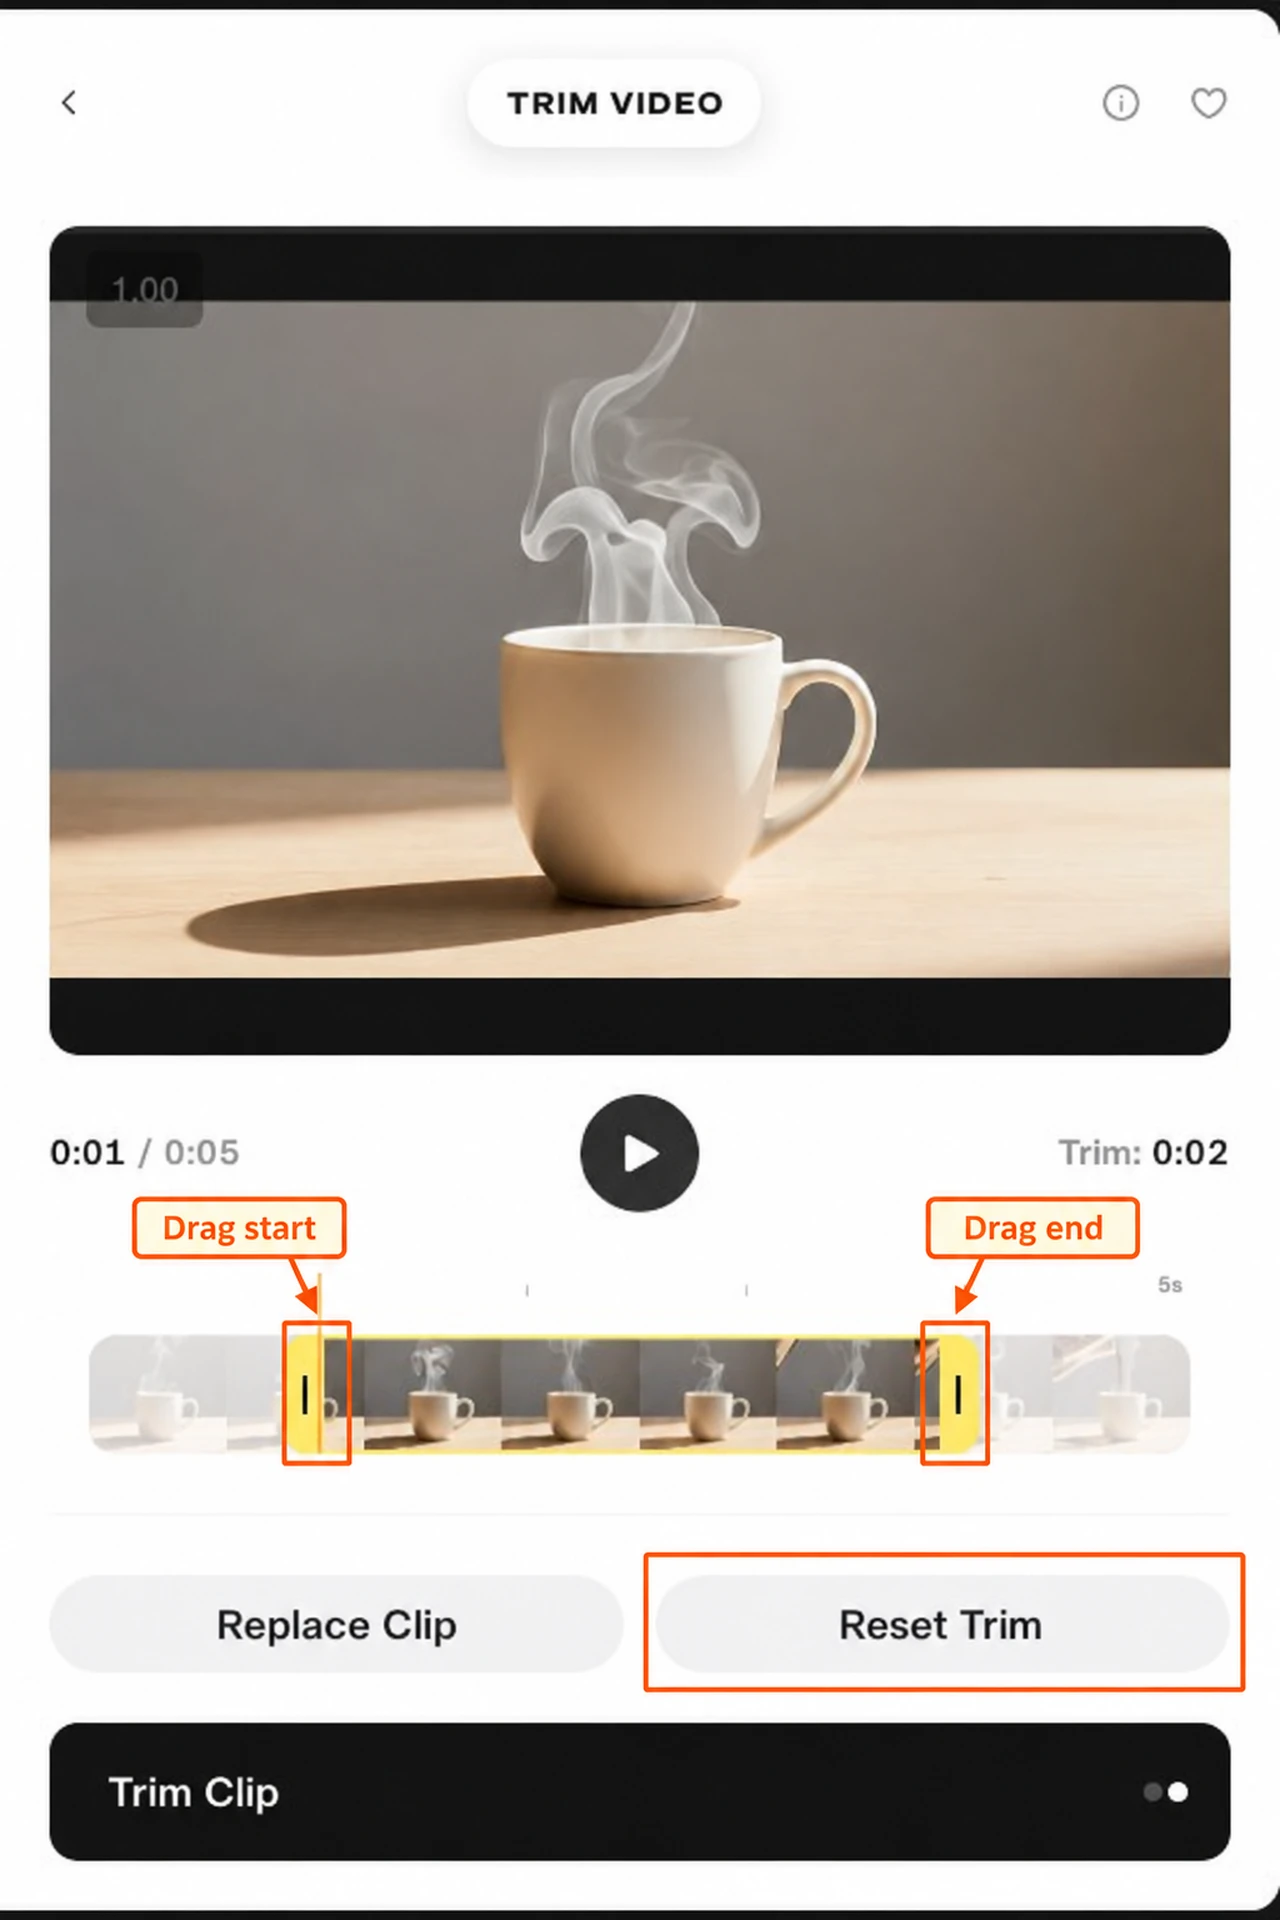
Move the left yellow handle to the right. Frames before it will be outside the retained section. I placed it near 1.06 seconds.
Use the preview and time readout together. Do not choose the start by the thumbnail alone: the first retained frame should make sense to someone seeing the clip for the first time.
Step 3: drag the end handle inward
Move the right yellow handle to the left. Frames after it will be outside the retained section. I placed it near 3.91 seconds.
The yellow band shows the kept portion; the dimmed areas are outside it. In our prepared selection, the difference between the handles is about 2.85 seconds. The whole-second Trim label is a quick summary, not a frame-accurate timecode.
Step 4: correct or replace the selection
Reset Trim restores the full source range. I confirmed it becomes available after moving a handle. Replace Clip lets you choose another source.
| Control | What I use it for |
|---|---|
| Play | Inspect the source and the chosen boundaries |
| Left handle | Remove unwanted opening time |
| Right handle | Stop before an unwanted ending |
| Trim readout | Check the retained duration |
| Reset Trim | Start the selection again from the full clip |
| Replace Clip | Work with another video |
The screen I inspected did not show a model selector, prompt, resolution choice, fade, crop or audio-mixing control. This tool covers a simple range selection.
Step 5: check the quote and save your own trim
With the full source loaded, Trim Clip showed a quote of about 1 credit. Treat that as the estimate displayed during this walkthrough, not a guaranteed price for every file. Our shorter selection did not show a settled new quote in the captured frame.
When you are ready to create your own file, check that the upload is complete, both handles are placed correctly and the current price is acceptable. Then use Trim Clip. We stopped before that action.
Make the shorter clip useful
For a product detail, start with the product already readable. For a presenter, keep the start of the sentence and its final sound. Leave a little breathing room if you will add captions or a closing line later.
After making your own trim, play the saved asset from beginning to end. Check that the first frame, last frame and audio cuts work before using it in another app.