
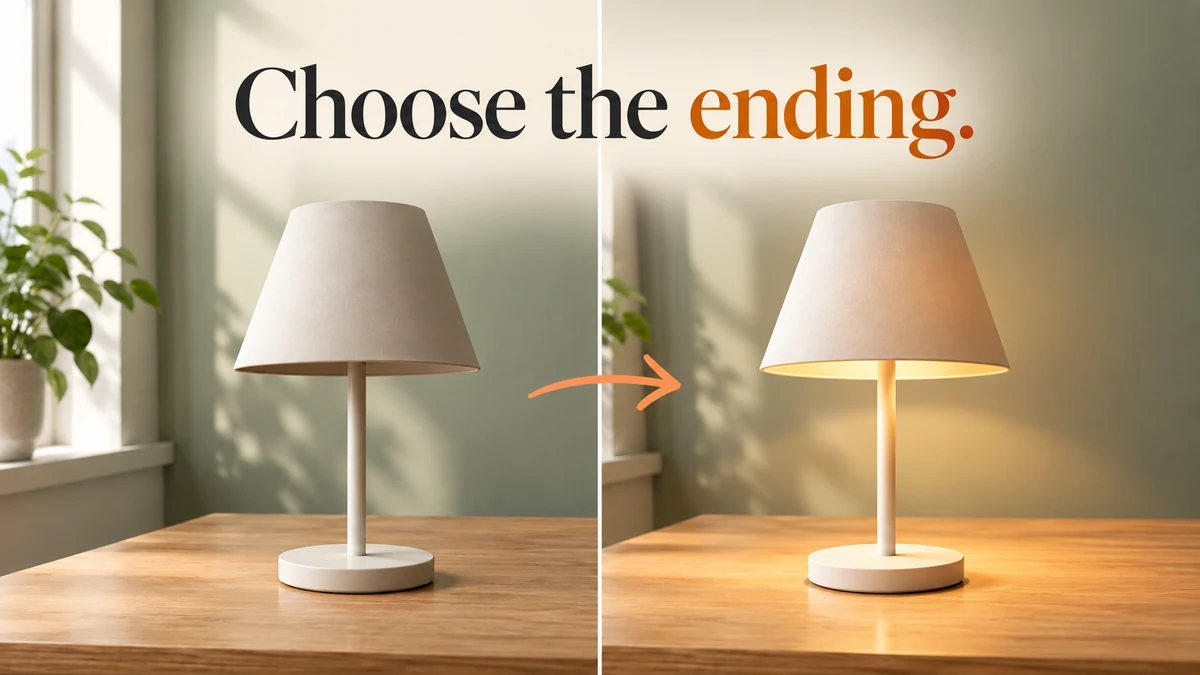
I used Pikaframes to plan a simple product change: a cream desk lamp starts off, then lights up. We prepared two matching images so the ending was part of the setup, rather than left only to the motion prompt.
This guide follows one real generation with two frames, 720p, a five-second transition and one take. We also tested frame reordering and explored the timing and resolution menus. Interface checked 9 October 2026.
Watch the lamp transition
The completed asset cost 20 credits, matching the quote. The downloaded MP4 is 1304 × 706, 5.03 seconds, with no audio track. The selected resolution was 720p; those are the actual returned file dimensions.
In the sampled start, middle and end frames, the lamp stays in the same position and the light comes on. The middle is brighter than the ending, so I would treat this as a short product demonstration rather than assume a perfectly even fade.
What is Pikaframes?
Pikaframes turns two to five ordered images into a video. Each consecutive pair supplies a transition, and one optional prompt guides the motion across the sequence.
I would choose it when the ending matters: a lamp turning on, packaging opening or a camera arriving at a planned composition. A single-image workflow is a simpler start when you only need one picture to move. Our decision guide explains that choice.
| Your goal | Start with |
|---|---|
| Motion from one picture without a required ending | Image-to-video |
| A particular starting and ending state | Two Pikaframes images |
| Several planned states | Three to five ordered frames |
Step 1: prepare images that belong to the same scene
I generated one lamp photograph, then edited that photograph to turn on the light. Both sources are 1280 × 720 WebP. The camera, lamp, desk and room remain close enough to give the transition one clear job.
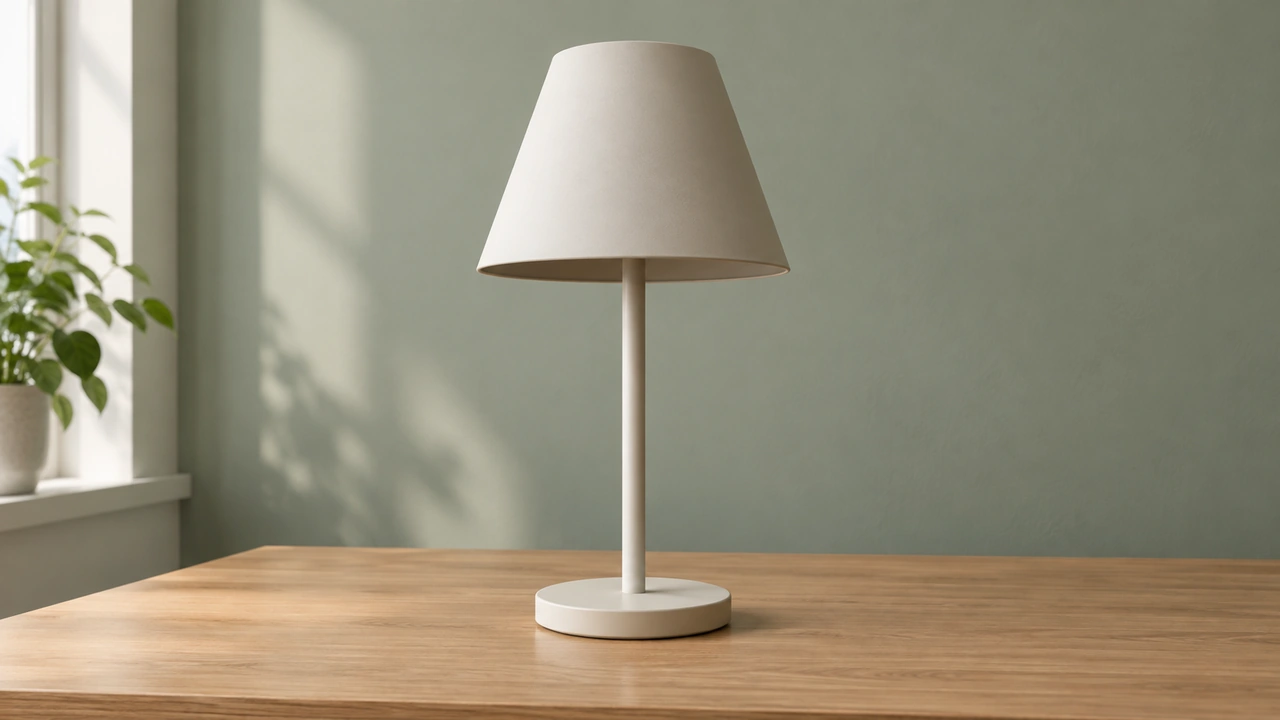
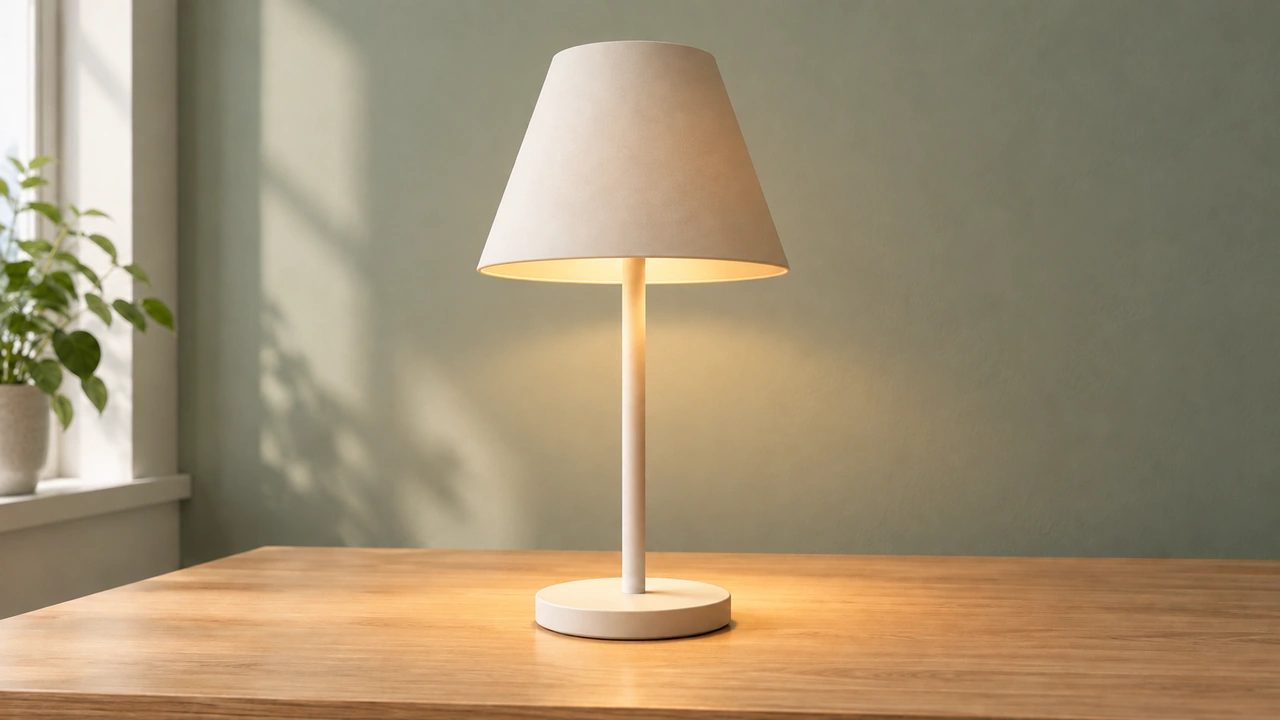
Download the starting image and the ending image to follow this exact example. These are AI-created product images, not photographs of a named brand.
For your own frames, keep the same subject, crop and aspect ratio. Change only the part you want animated at first. A new product shape, different background and different camera angle all at once leave more for the model to connect.
Step 2: upload the starting and ending frames
- Open Pikaframes.
- Click the first empty keyframe card.
- Choose Upload and select the starting image, or choose a saved asset and confirm Use Selection.
- Wait for the upload to finish.
- Click the next empty card and attach the ending image.
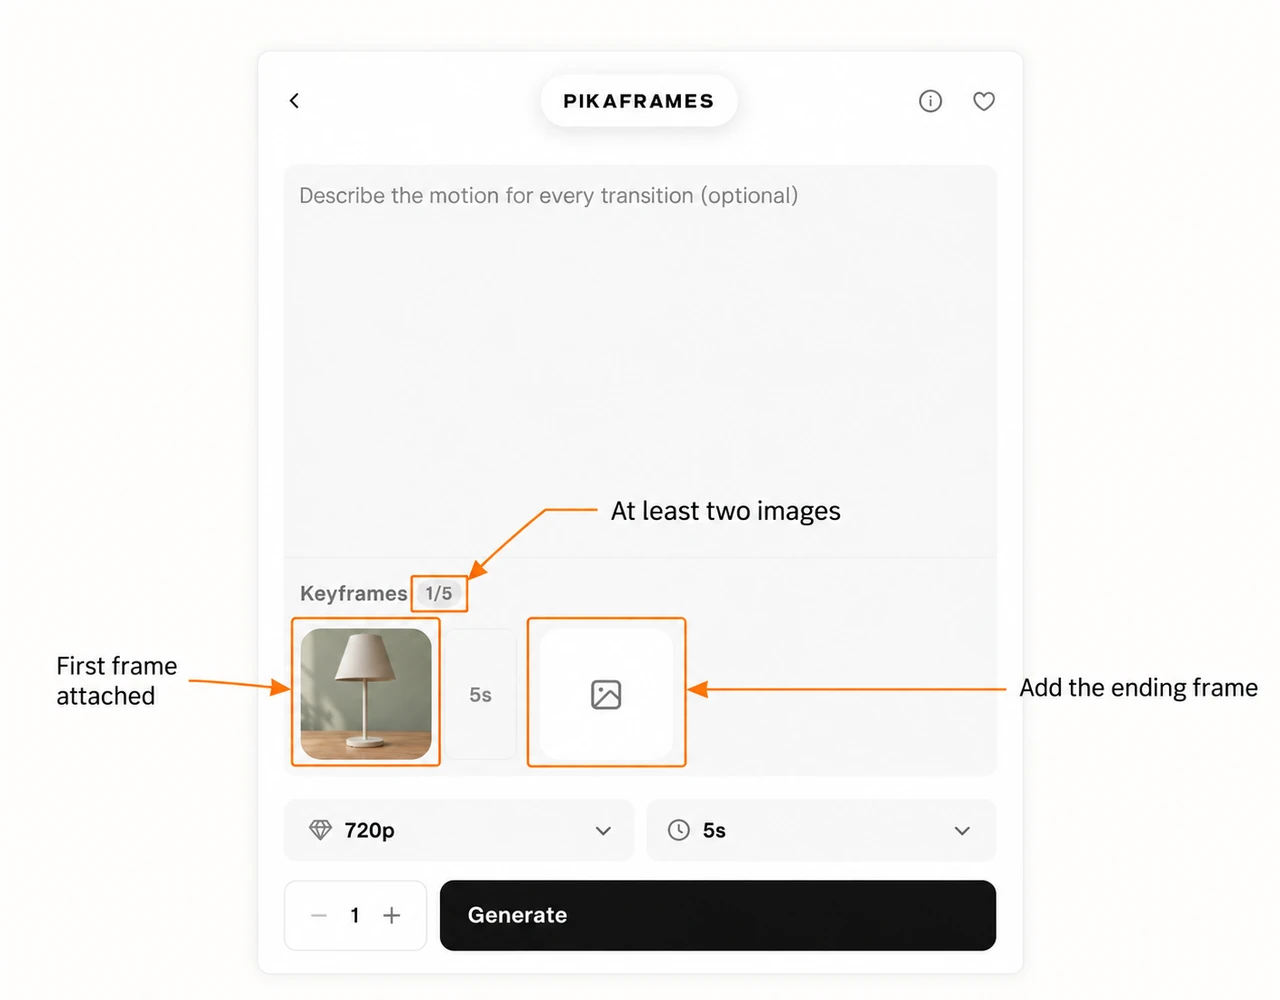
One image showed Keyframes 1/5. After the second upload, the count became 2/5. Check both thumbnails before moving on. Upload keyframes is also available above the frame row; our test attached each image in its intended slot.
Check the order and remove unwanted frames
The frames read from left to right. I dragged a thumbnail to test the ordering control, which changed our sequence from off → on to on → off. We restored off → on before generating.
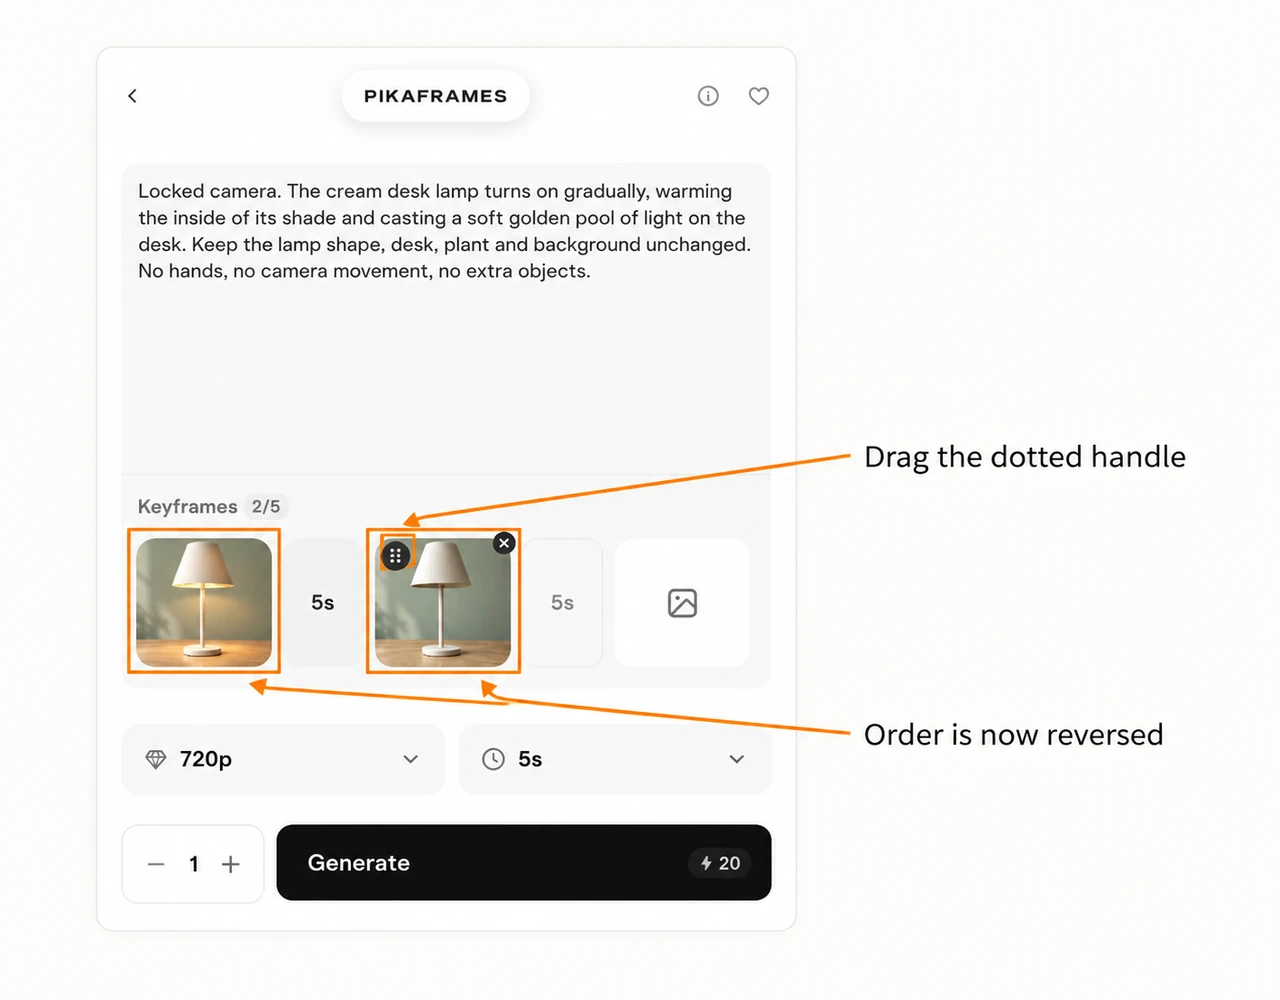
Use the dotted drag handle on a thumbnail to move it. Use its × to remove that frame. Click the frame card to choose a replacement. Add keyframe 3 appears after two images; the current limit is five.
I would recheck the thumbnails after any drag. The same two images in reverse order describe a different action, even if the prompt stays unchanged.
Step 3: write one motion instruction
The prompt is optional, but I used it to keep the camera still and focus the change on the light:
Locked camera. The cream desk lamp turns on gradually, warming the inside of its shade and casting a soft golden pool of light on the desk. Keep the lamp shape, desk, plant and background unchanged. No hands, no camera movement, no extra objects.
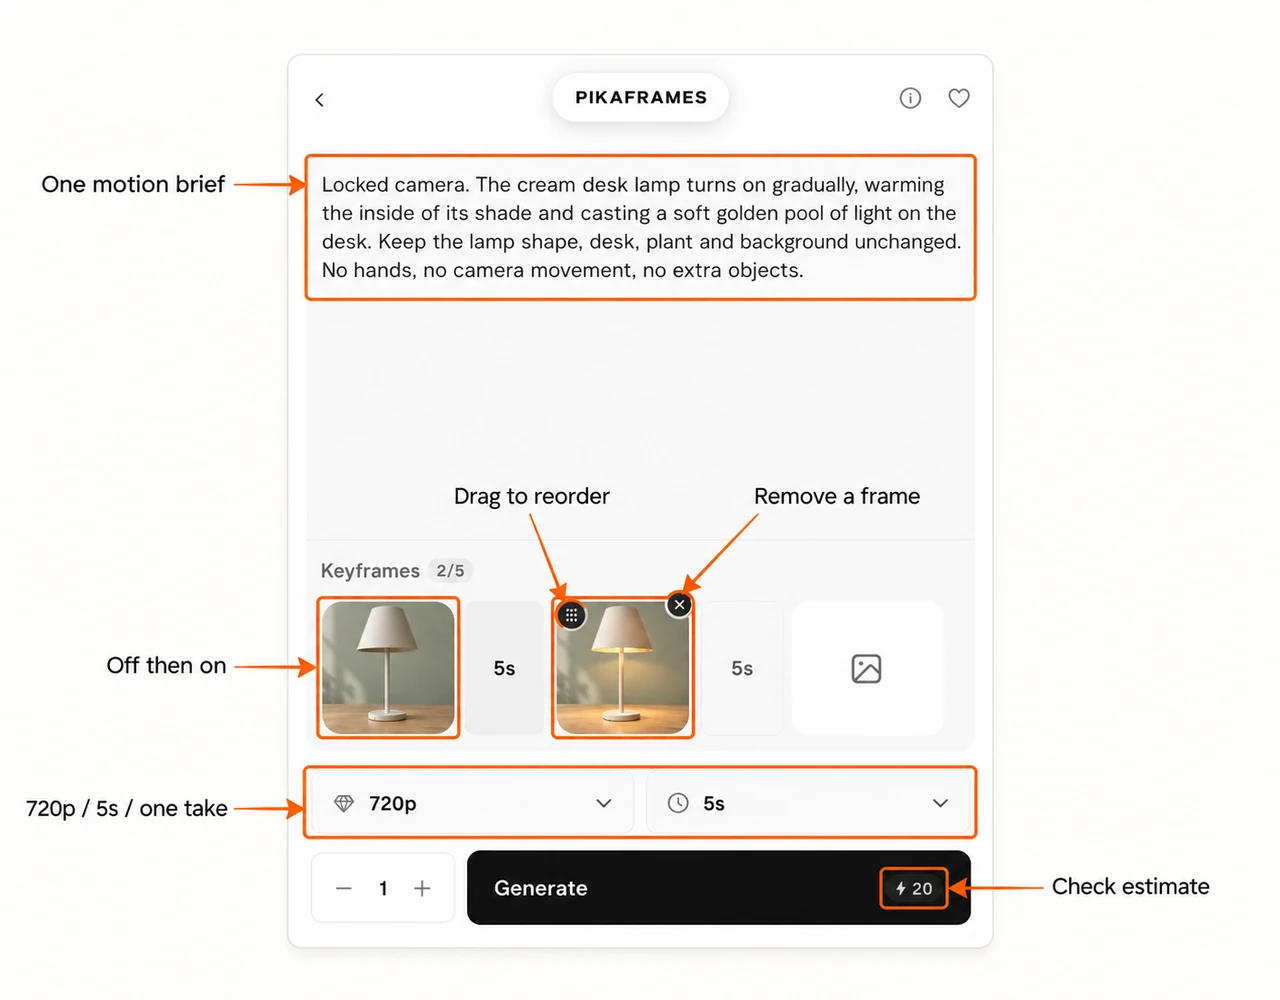
This is one shared prompt for the sequence. The checked page did not show a separate text box for every pair. Write what should happen between the supplied states, not a new scene that conflicts with them.
Step 4: choose resolution, transition time and count
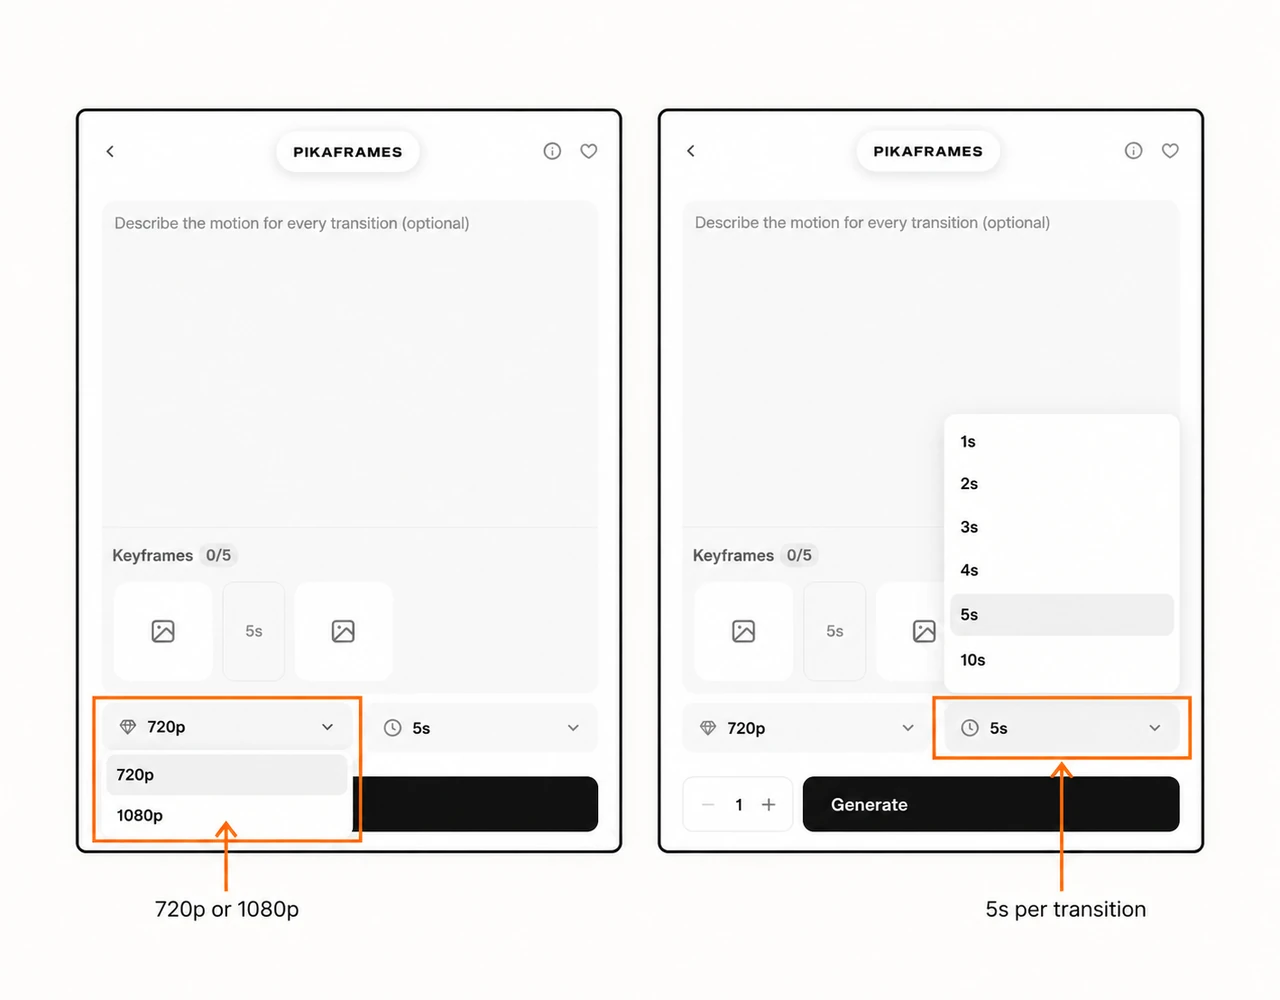
Resolution offers 720p and 1080p. The app FAQ limits five-frame sequences to 720p; 1080p supports up to four frames. We kept 720p for a first check. The resolution choice is a setting; inspect the downloaded file if exact pixel dimensions matter to your edit.
Transition duration offers 1s, 2s, 3s, 4s, 5s and 10s. The app FAQ reserves 10s for a two-frame sequence. We kept 5s. The time is for a transition between consecutive frames, not a single fixed duration regardless of how many images you add.
| Frames | Consecutive transitions | Planned length at 5s each |
|---|---|---|
| 2 | 1 | About 5 seconds |
| 3 | 2 | About 10 seconds |
| 4 | 3 | About 15 seconds |
| 5 | 4 | About 20 seconds |
Those longer sequences are planning examples, not extra tests. Our only generated sequence uses two frames. The 5s labels between thumbnails show the planned timing; we changed the setting through the lower Transition duration menu.
Keep Generations = 1 for a first test. Review the quote again after changing the number of images, time, resolution or takes. The dedicated page checked here had no separate aspect-ratio, audio or model selector.
Step 5: generate and compare the result with the sources
Check off → on, the motion prompt, 720p, 5s and one generation. Wait for the estimate to settle, then press Generate once. Our quote was 20 credits and the completed asset reported Cost 20 tokens.
Compare the beginning with the starting image, then compare the ending with the target. Look for changes in the product outline, crop and background, not just the light. A supplied ending gives the model a target; it is not a promise of a pixel-for-pixel match.
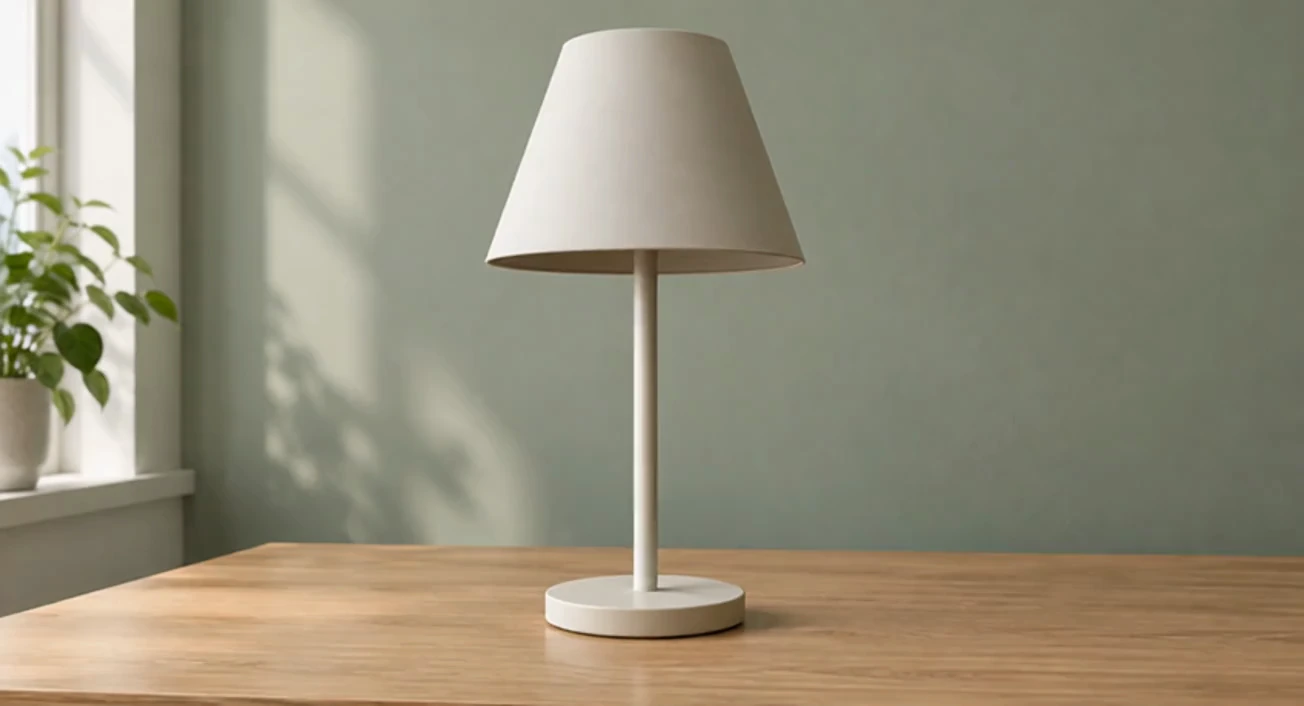
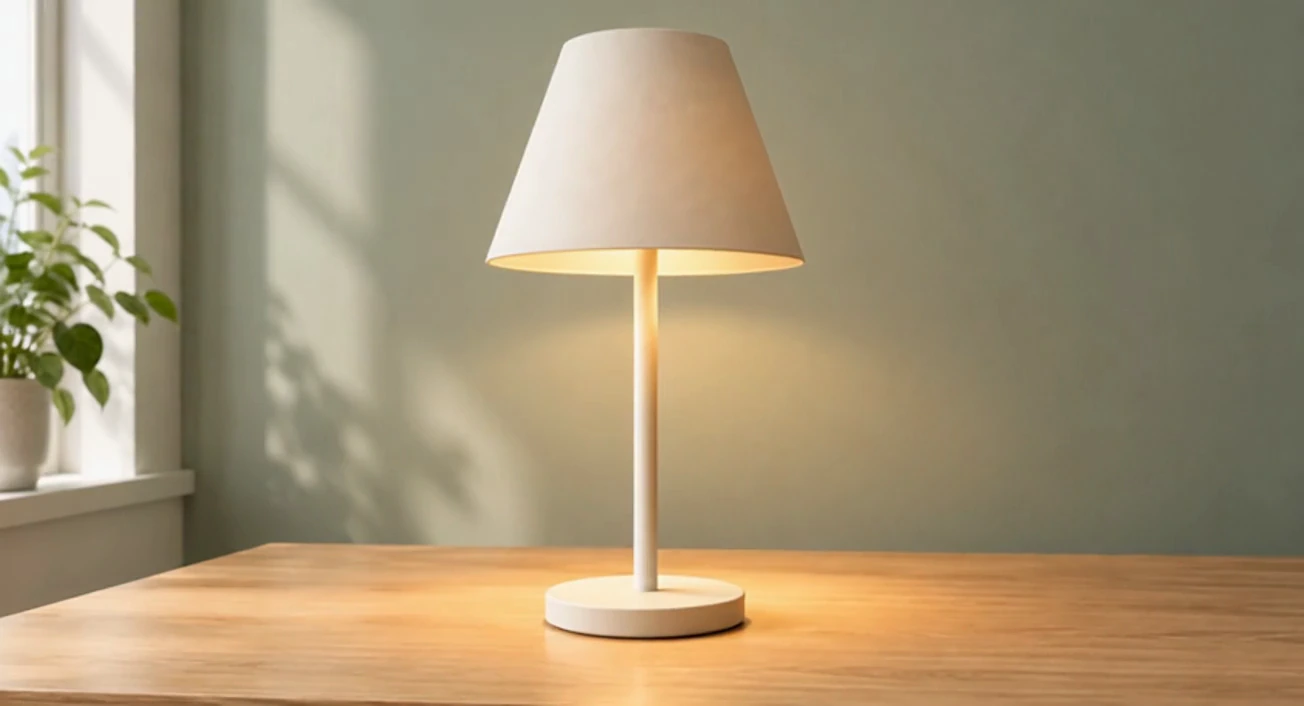
I sampled the downloaded clip at its beginning, middle and near its end. The lamp is unlit at the start and lit later. The bright pool at the midpoint settles toward the ending; keep that change in mind if you need a precise lighting demonstration.
Step 6: download and use the clip
Open the completed video asset and use the downward-arrow Download control. Its player lets you inspect the full clip, and the right panel shows the two source references. Reprompt returns to setup; Retry makes another paid take.
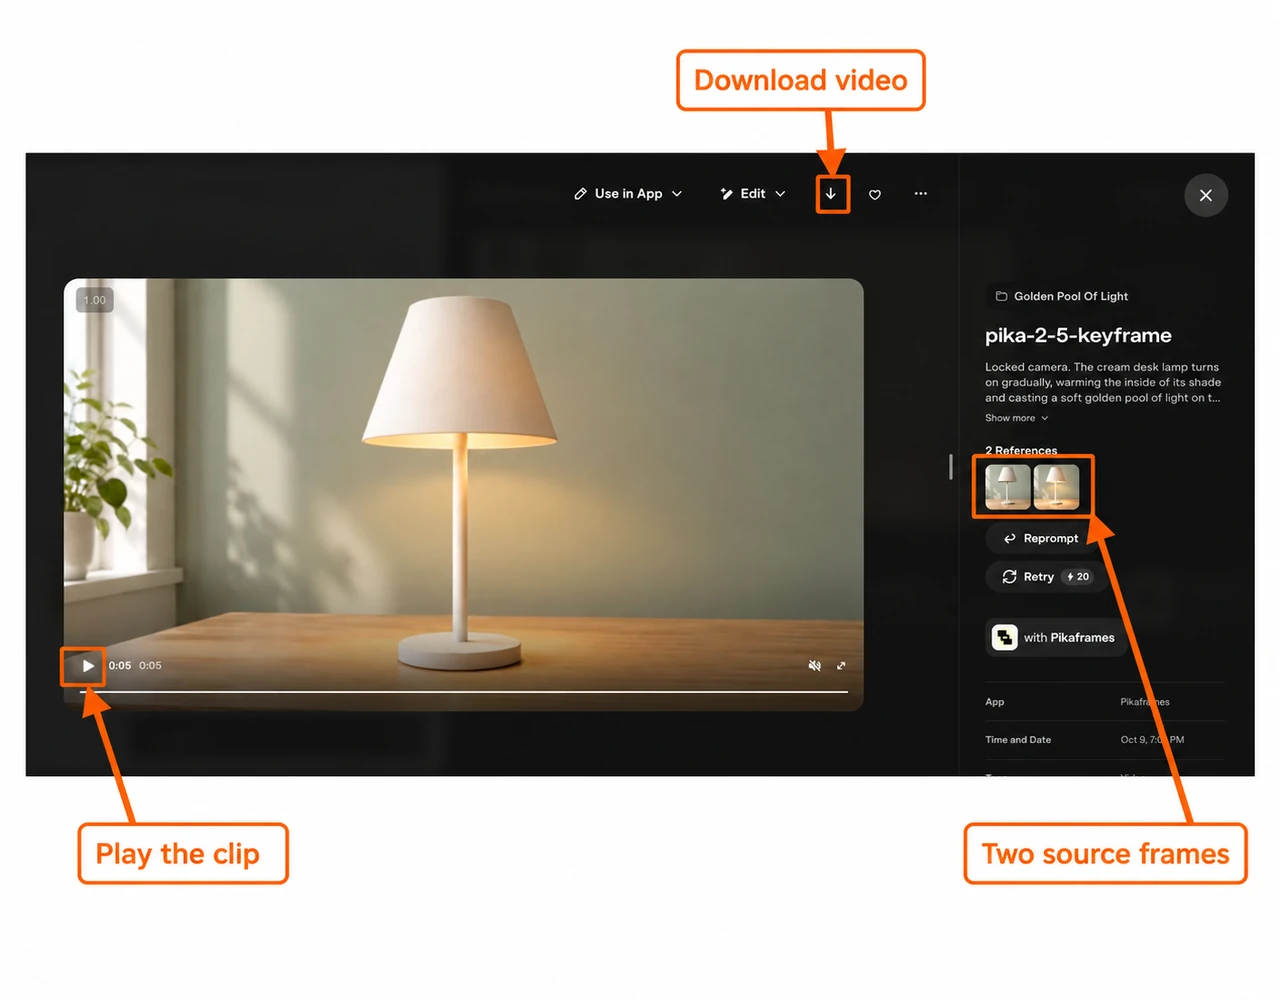
Download our MP4. It is the original returned file, without added music or a replacement ending. For a sound treatment afterward, follow Pika Soundtrack, or add a separate effect from Pika SFX.
Three other ideas to plan with frames
| Idea | Starting state → ending state |
|---|---|
| Product lighting | Lamp off → lamp on |
| Packaging reveal | Closed box → same box open |
| A planned composition | Product close-up → wider view of the same scene |
Only the lamp example was generated here. For packaging, keep the box and printed details consistent between images. For a wider view, preserve the subject and room so the model has a coherent destination.
What did this test cost?
Our two-frame, five-second, 720p clip cost 20 Pika credits. Check your own estimate before submitting; extra frames, a longer transition, another resolution or more takes can change the cost.
I would start with two images and one clear change. Keep the result if it suits the intended edit, then add a middle frame only when you need to steer an additional state.