
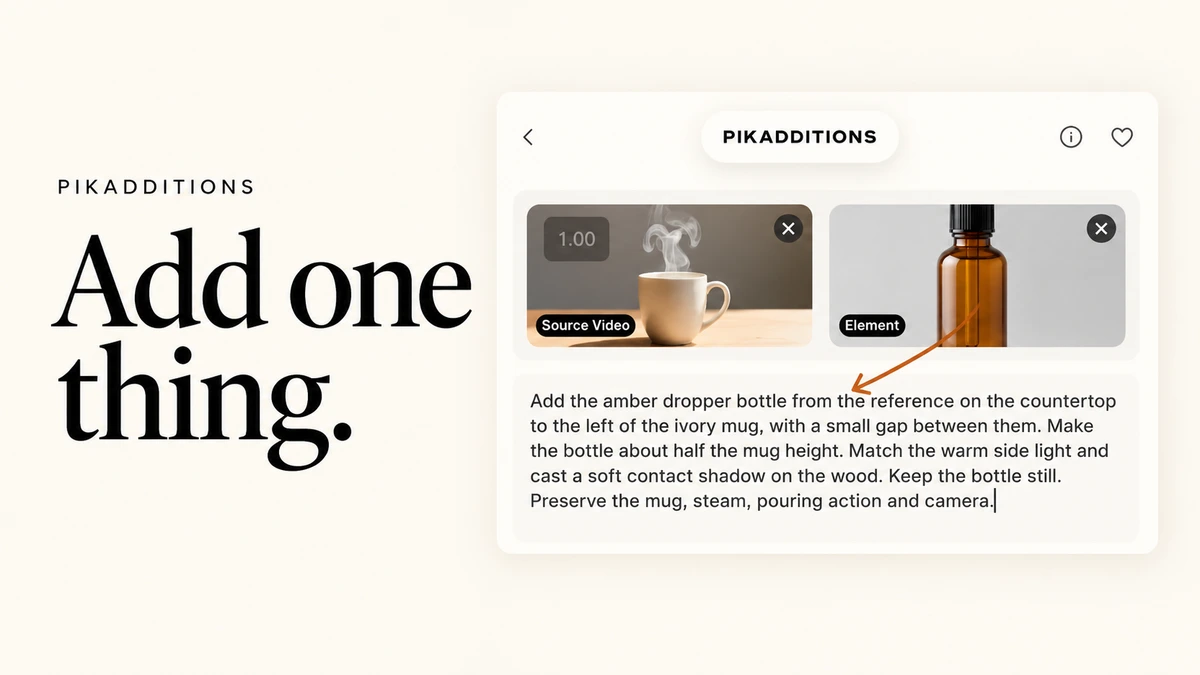
I use a simple morning-product scene for this guide: our mug video and an amber bottle to add beside the cup. We tell Pika where the bottle belongs, how large it should be and how the light should fall on it.
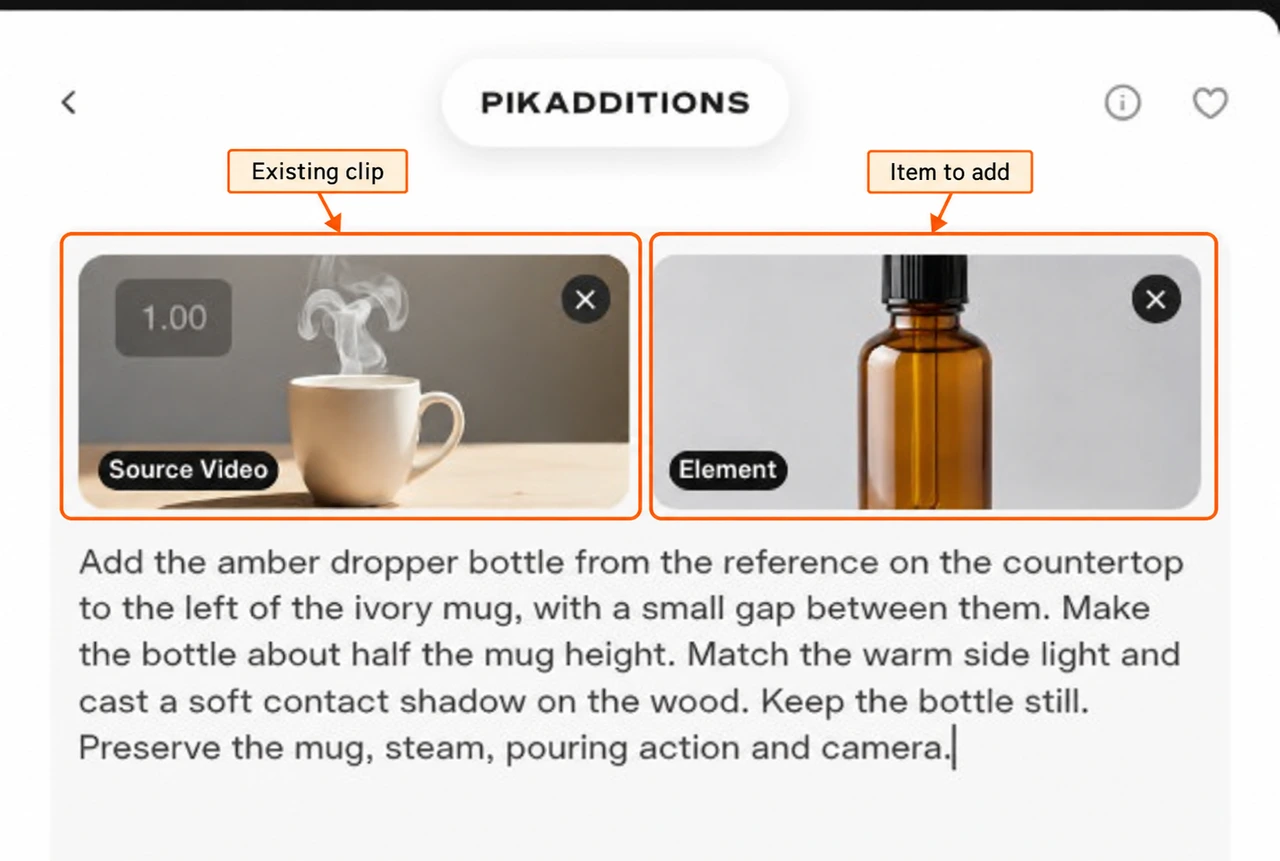
We’ll attach the clip and bottle photo, write the placement prompt, then choose the size, length and number of versions.
Start with the clip and item
| Setting | Our example |
|---|---|
| Source Video | Existing five-second mug clip |
| Element | Amber dropper bottle image |
| Placement | On the countertop, left of the mug |
| Size | About half the mug height |
| Motion | Bottle stays still |
| Resolution | 1080p |
| Duration | 5s |
| Generations | 1 |
| Displayed quote | 3 credits for one version |
What is Pikadditions?
Pikadditions adds a subject or object to an existing video. Its help panel says the prompt describes what to add and where, while an optional reference image guides its appearance.
I would use it when the shot already works but needs one extra item: a product on a table, a small prop beside a presenter or a decorative object in a scene. Pika says it aims to keep the rest of the footage; check that preservation in your own result.
Choose adding or replacing
| What you want | Tool to start with |
|---|---|
| Put a new bottle beside the existing cup | Pikadditions |
| Replace the cup with a different item | Swap Anything |
| Change the light on the same scene | Relight Media |
| Animate a product photo into a new clip | Product Shot |
Use Pikadditions to add an item. Choose Swap Anything when you want to replace an existing item.
Step 1: attach your source video
Open Pikadditions. Select Source Video, then Upload in the picker. You can also select an available video and confirm Use Selection.
I attached our five-second mug clip. Wait for its upload to finish. Select the source card to choose another clip, or use its X to remove it.
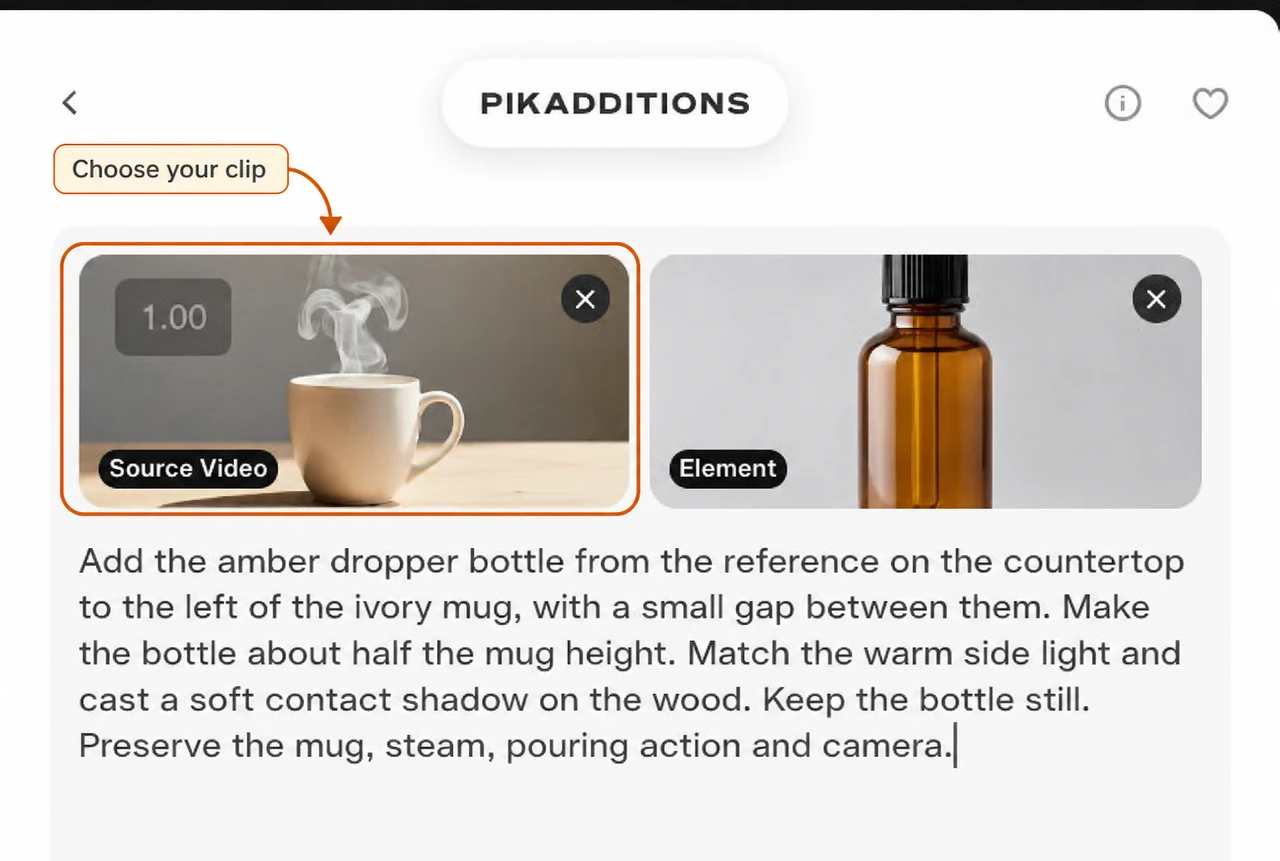
Choose a shot with space for the new item. In our example, the countertop beside the cup gives the bottle a clear place to stand. Watch the whole source first: later hand movement, pouring or camera movement may cross that space.
If your source has a long opening you do not need, trim it first.
Step 2: attach the item under Element
Select Element and upload a clear photo of what you want to add. The picker also offers available assets and saved collections such as Products, Characters and Scenes.
I used our amber bottle reference. Choose another image through the card or remove it with X.
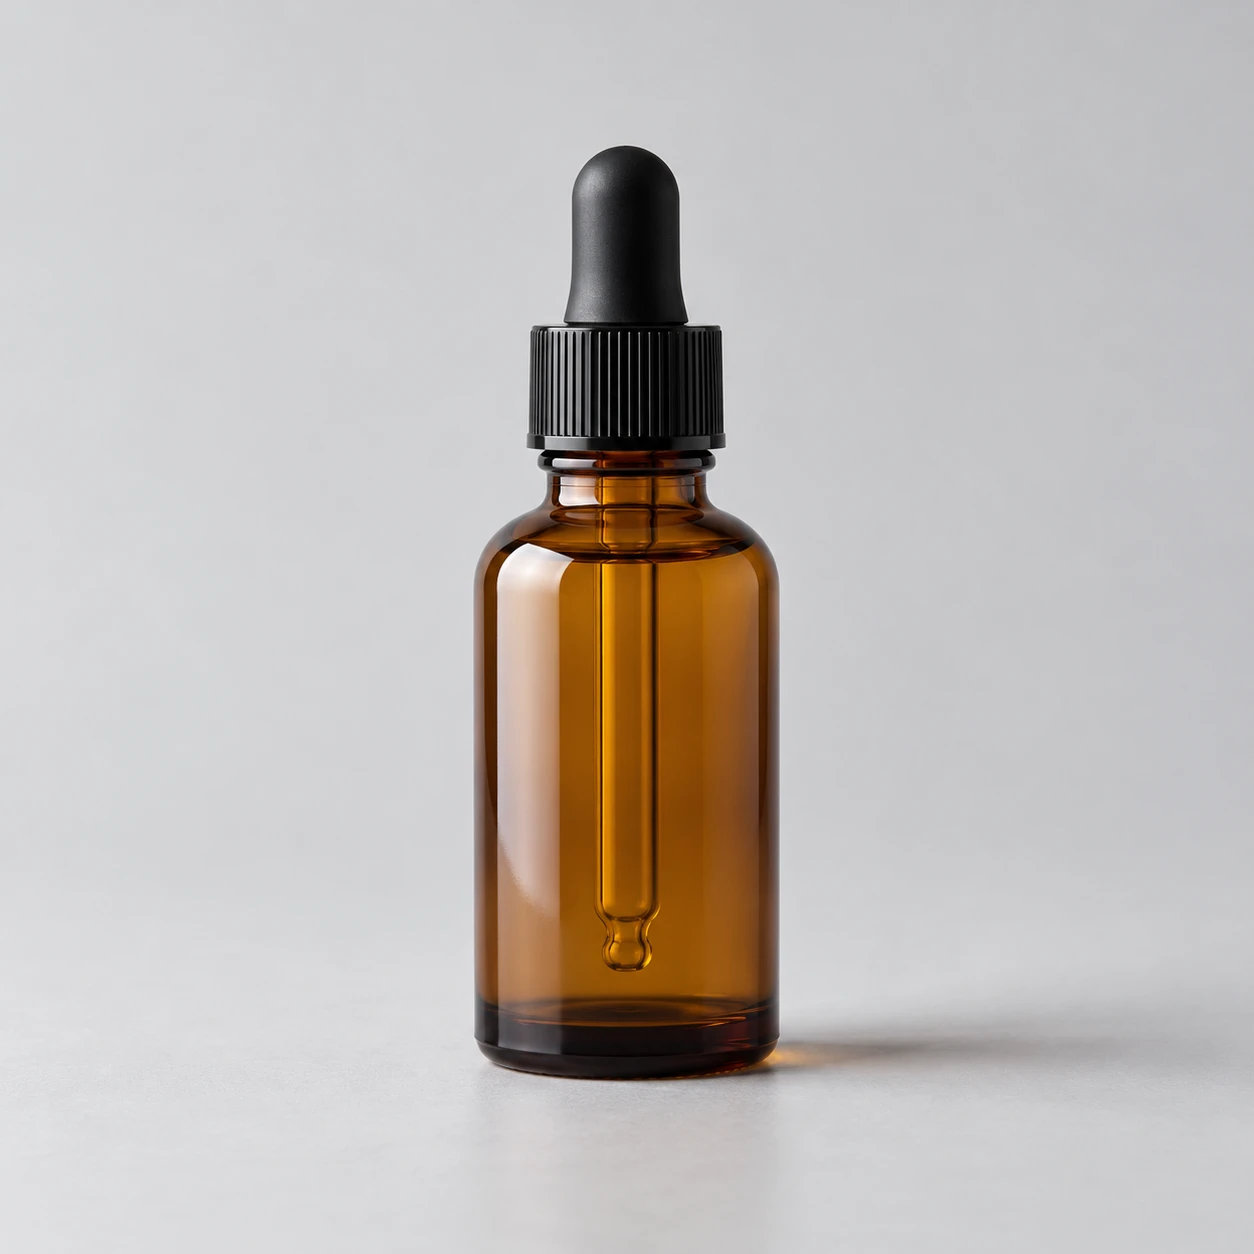
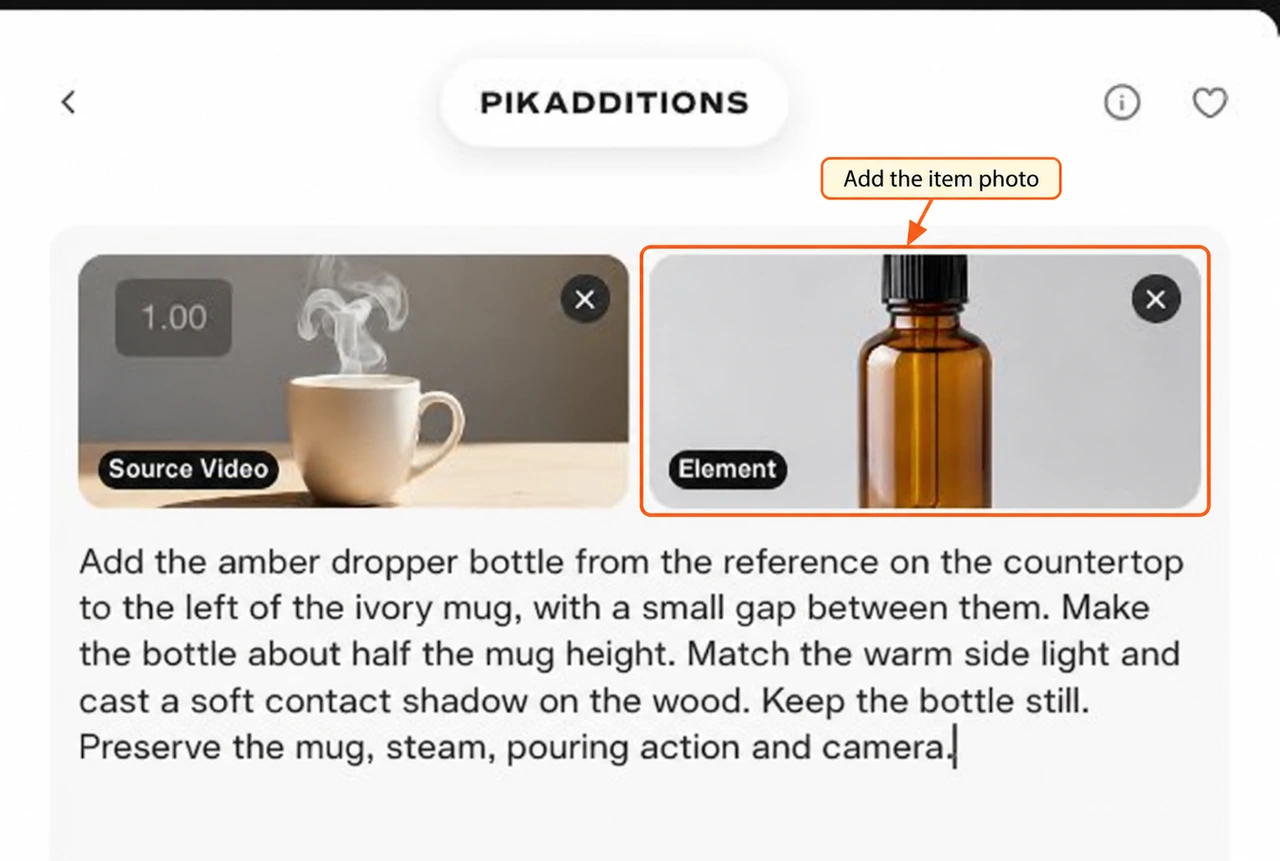
A reference is optional. A text-only description can define the item, but a photo is useful when its shape, material or colour matters. The image does not replace the placement prompt.
| Reference choice | My use |
|---|---|
| Product photo | A specific bottle, box or accessory |
| Fictional character photo | A particular person or character to add |
| No image | A generic prop described in words |
Use a clean, readable image. A busy reference makes it harder to tell which object you mean.
Step 3: write the placement prompt
I entered this brief:
Add the amber dropper bottle from the reference on the countertop to the left of the ivory mug, with a small gap between them. Make the bottle about half the mug height. Match the warm side light and cast a soft contact shadow on the wood. Keep the bottle still. Preserve the mug, steam, pouring action and camera.
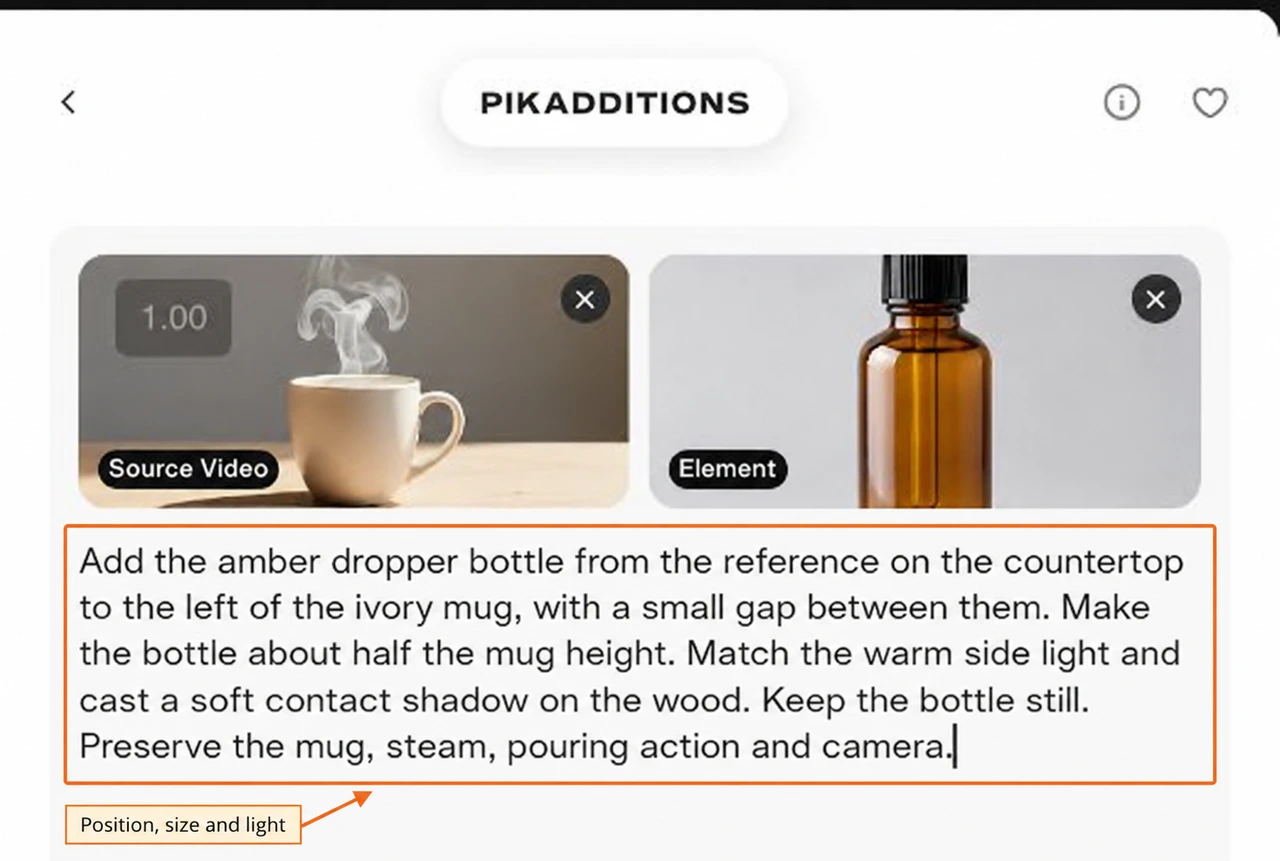
The brief gives the item, position, relative size, light, shadow and motion. It also names the source action we want to keep.
| Part of the brief | Why I include it |
|---|---|
| Left of the mug, with a gap | Makes placement concrete |
| Half the mug height | Gives a scale relative to something already in the shot |
| Warm side light | Helps the new item fit the scene |
| Contact shadow on the wood | Asks for contact with the surface |
| Bottle stays still | Avoids requesting another action |
| Preserve cup, pour and camera | States the parts we want to keep |
Write the placement in the prompt using a landmark already in the scene, such as “left of the mug.” Drag the prompt box’s lower corner if you need more room to read your brief.
Three addition ideas to try with your own source
| Idea | Example direction |
|---|---|
| Morning product scene | Add a small bottle beside the cup, without covering the pour |
| Presenter desk | Add a closed notebook on the empty side of the desk; keep it still |
| Shelf detail | Add a small plant in the empty shelf space, matching the room light |
These are prompt ideas. Start with one object and a clear location so you can judge the change.
Step 4: choose the frame size
Open Resolution and choose 720p or 1080p. I use 1080p for our example.
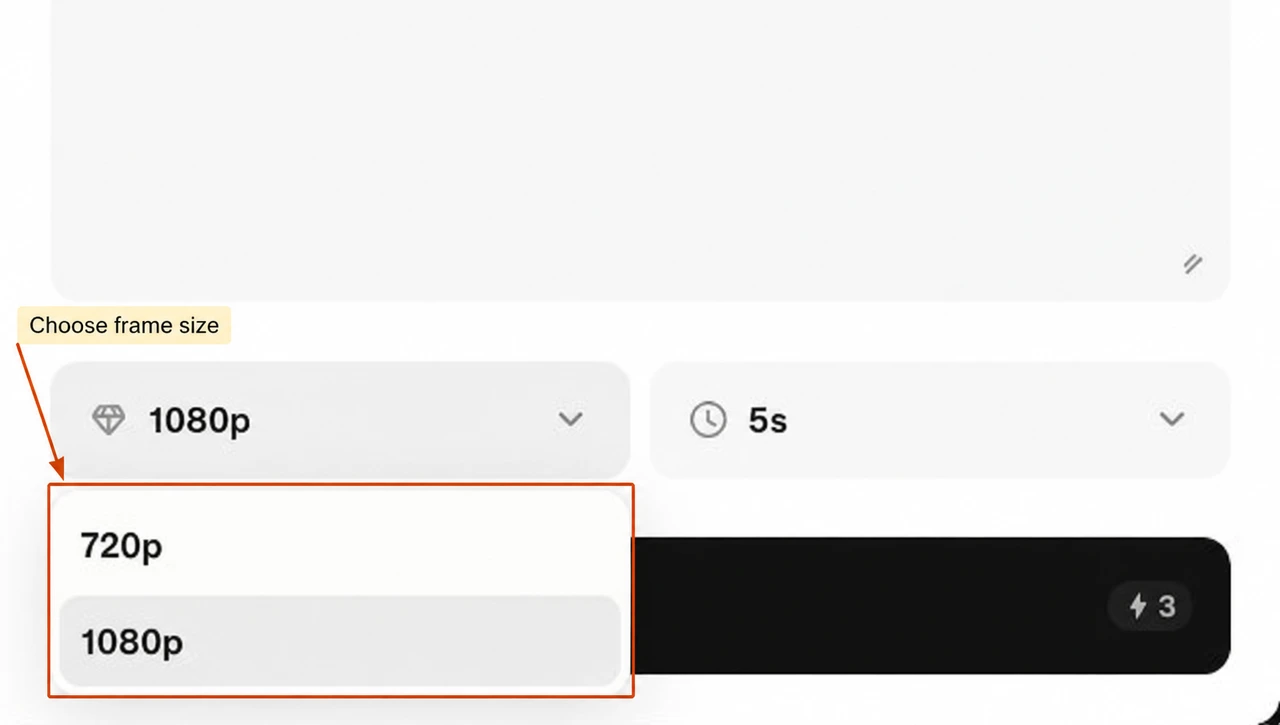
Choose the size your final placement needs. Product details may benefit from a larger frame; a small preview can be enough to assess the idea.
Step 5: choose five or ten seconds
Open Duration and choose 5s or 10s. This sets the length of the returned clip.
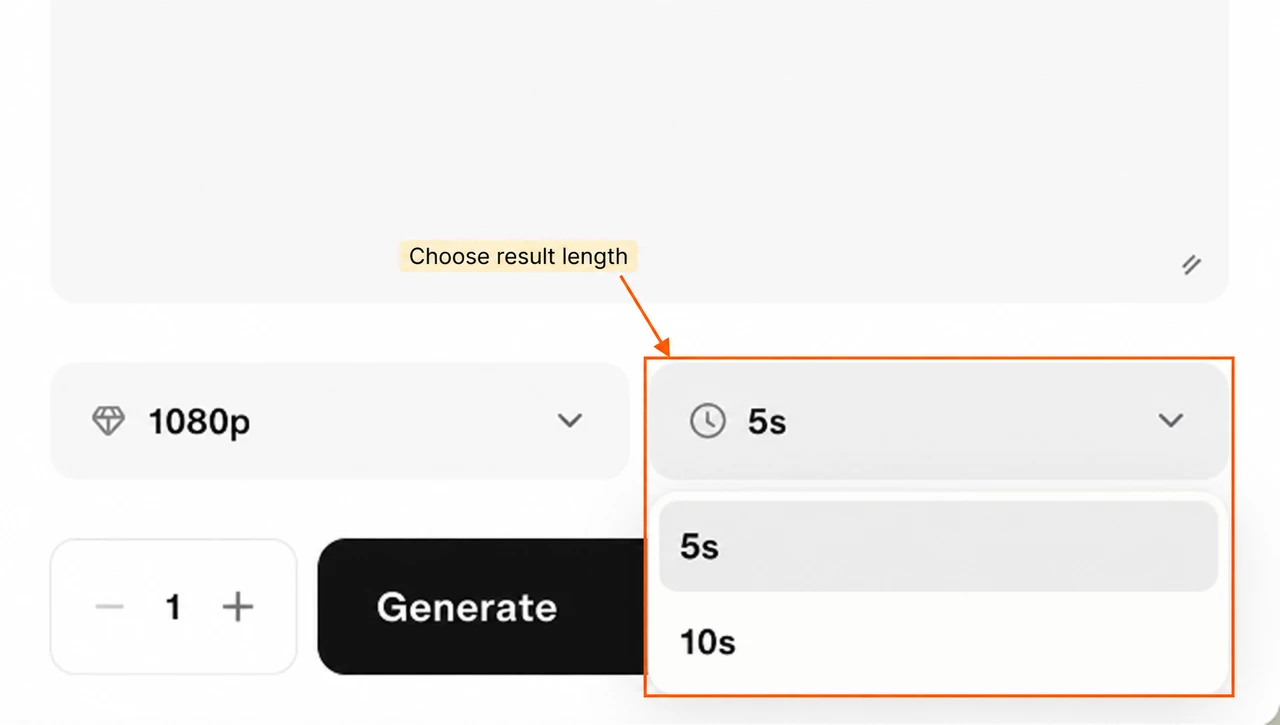
Choose a source that fits the duration you need. For this example, we pair a five-second source with the 5s setting.
Step 6: review version count and credits
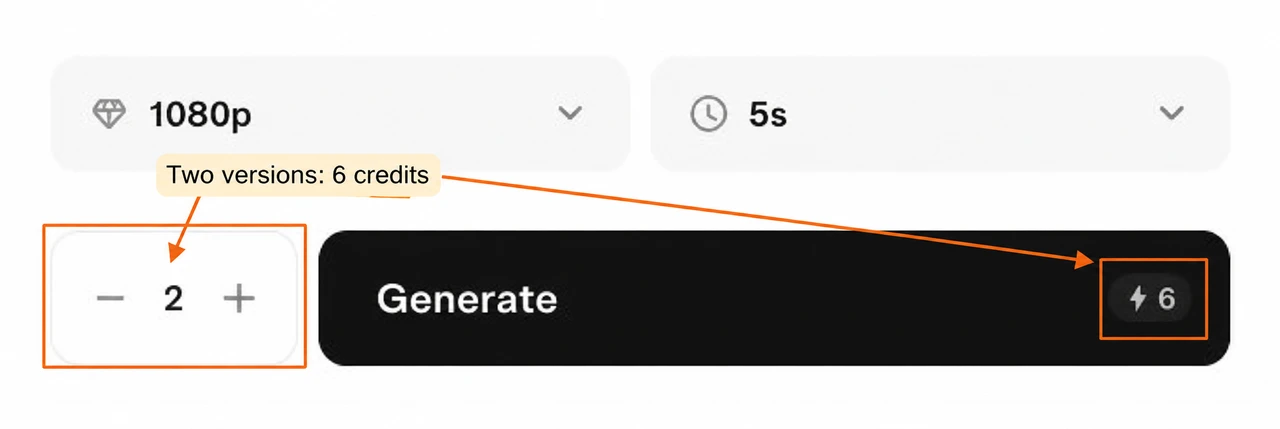
The plus and minus buttons change Generations. Start with one version, quoted at 3 credits in our example. Selecting two versions changes the displayed quote to 6 credits.
| Settings | Displayed quote |
|---|---|
| 1080p, 5s, one version | 3 credits |
| 720p, 10s, one version | 3 credits |
| 1080p, 5s, two versions | 6 credits |
Pika describes a flat rate per generation across these size and length choices. Wait for the current quote after uploading or changing settings, then confirm it fits your budget.
Keep your first setup simple: one item, a clear placement prompt and one version.
Before you generate your own addition
Check that the source has finished uploading, the Element card contains the right item, the prompt names its placement and size, and the duration fits your source. Confirm the version count and current quote before using Generate.
What to check in your own result
Watch the new item throughout the clip. Check its size, shape, position, shadow and contact with the surface. Look especially closely when a hand, steam or another object passes in front of it.
Then compare the original cup, action and camera. If the new item floats or covers the main subject, change the placement or scale before trying again. If the source has sound you need to retain, listen to the returned clip too.