
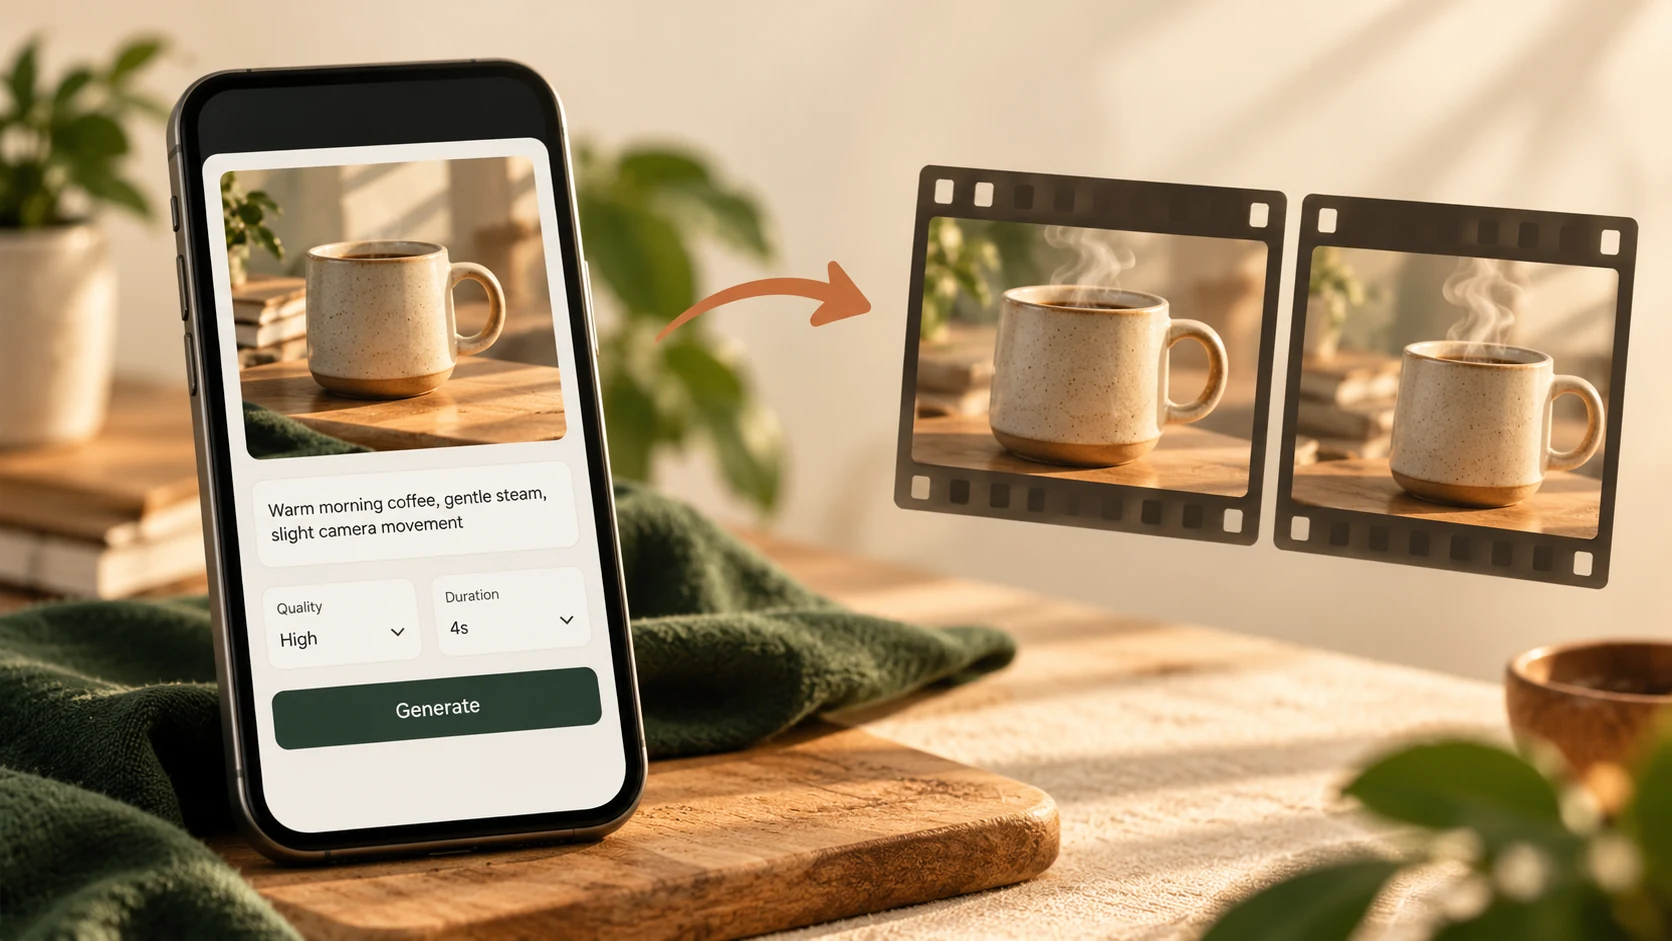
You can use Pika Create through your phone’s browser. I start with one clear photo and one small movement, then review the settings before spending credits.
We’ll use our coffee mug photo in Pika 2.5. The screenshots show Pika’s mobile web layout at a phone-width viewport; they are browser captures, not screenshots from the iOS app.
What do you need?
- A Pika account for generation.
- A clear photo saved on your device, or an available image in Pika.
- A short motion prompt.
- Enough credits for the estimate shown before submission.
| Your starting point | First workflow |
|---|---|
| You already have a product or portrait photo | Attach it and describe its movement |
| You want Pika to invent the entire scene | Leave the photo empty and describe the scene |
| You need a planned start and ending | Use Pikaframes with ordered images |
Step 1: open Pika Create in your browser
Open Pika Create and sign in. For this example, open Pika 2.5 directly.
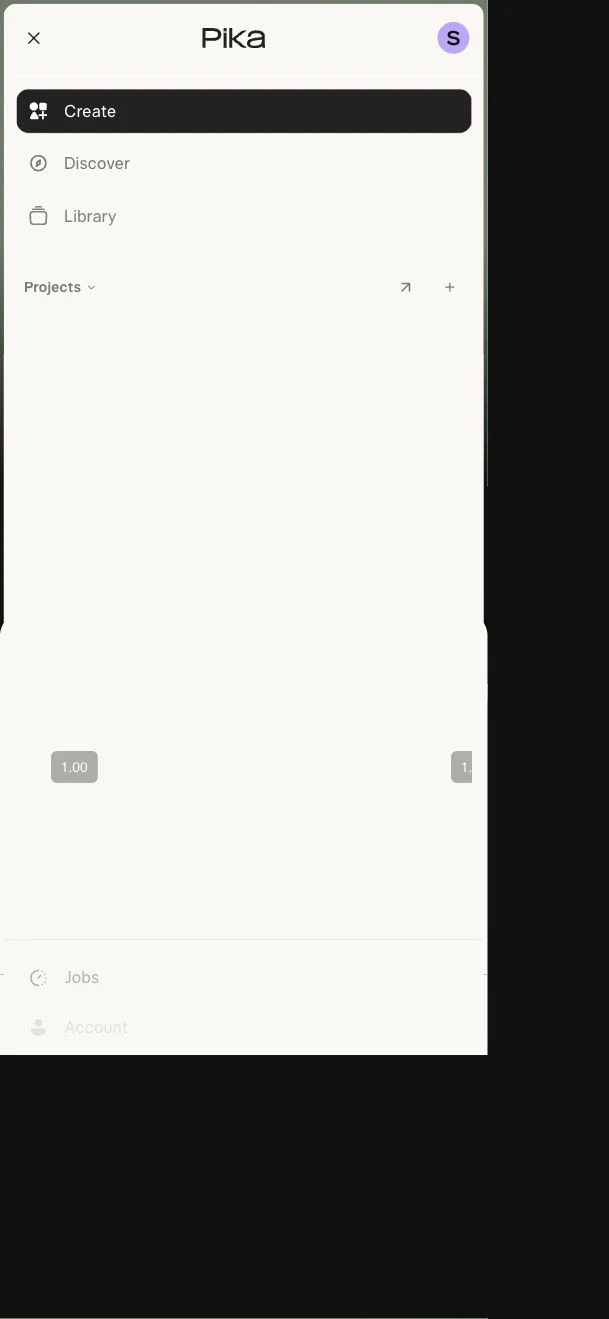
The menu button near the top left opens Create, Discover, Library, Projects and Jobs. Use Create to begin; Library and Projects help you return to your work.
Use the official website’s links for any app download. This tutorial follows Pika Create on the web. Check the product named at checkout: the web top-up notice says those credits cannot be used in the iOS app, API, MCP or old.pika.art.
Step 2: expand the composer
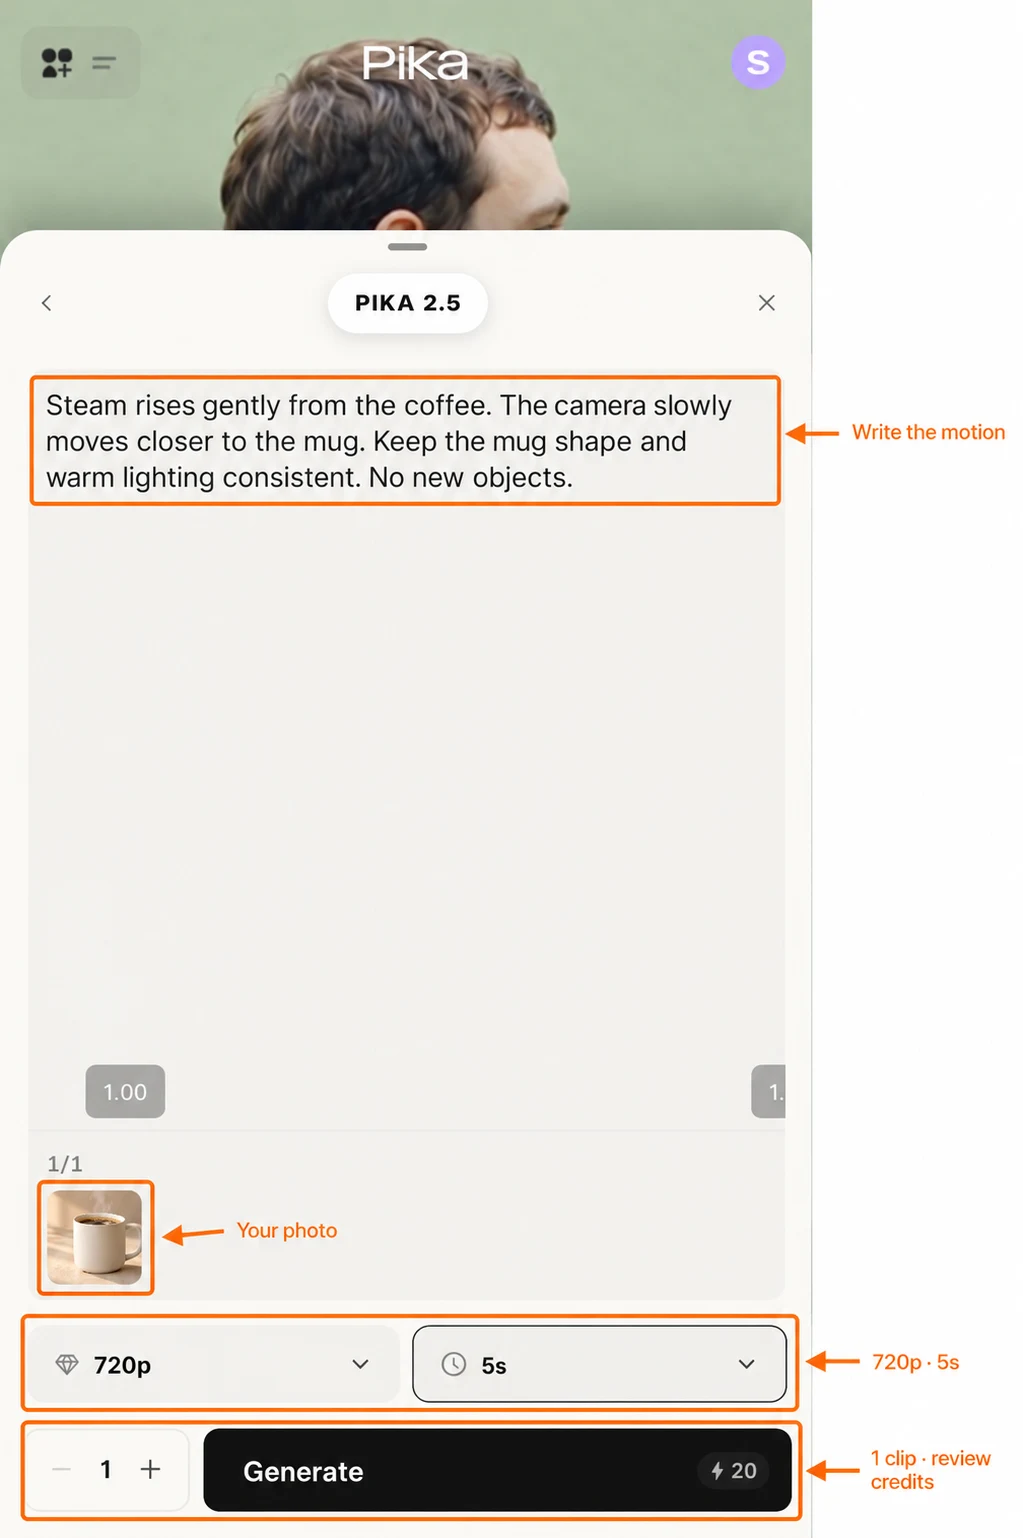
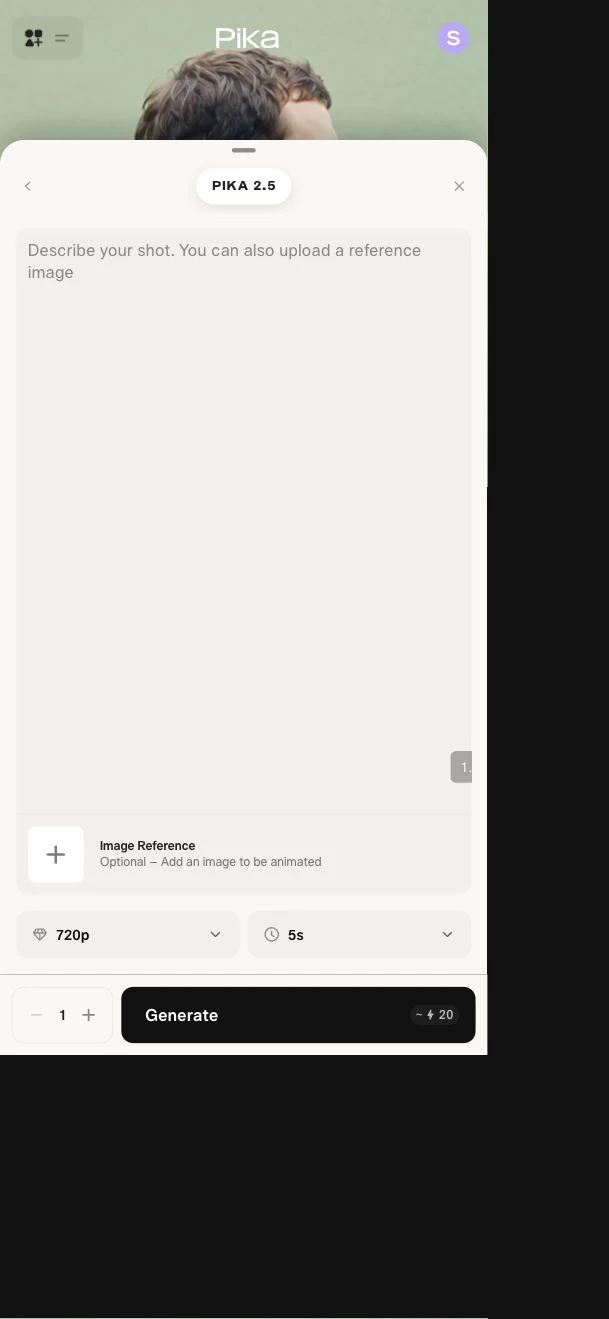
Pika 2.5 opens with a composer at the bottom of the screen. Tap its up arrow to expand it. The X closes the expanded view.
Step 3: attach one photo
Tap + under Image Reference. In the asset picker, tap Upload and select a photo through your device’s file picker. You can also select an available asset and confirm Use Selection.
Wait until the upload indicator disappears. The attached image appears as a thumbnail with 1 / 1. Use the image’s remove control to clear it before choosing a replacement.
I used our coffee mug source photo. Keep the product fully in frame and leave space for the movement. Use the photo checklist to prepare your own picture.

Step 4: describe the movement
For image-to-video, describe the action and camera movement. You do not need to rewrite every detail already in the photo.
Steam rises gently from the coffee. The camera slowly moves closer to the mug. Keep the mug shape and warm lighting consistent. No new objects.
We ask for one small action and one camera move. Review the finished clip for shape changes or added objects; a prompt is a direction, not a guarantee.
For text-to-video, remove the image and include the subject, setting and action in your prompt. Our prompt generator helps prepare either version on your phone.
Step 5: choose resolution
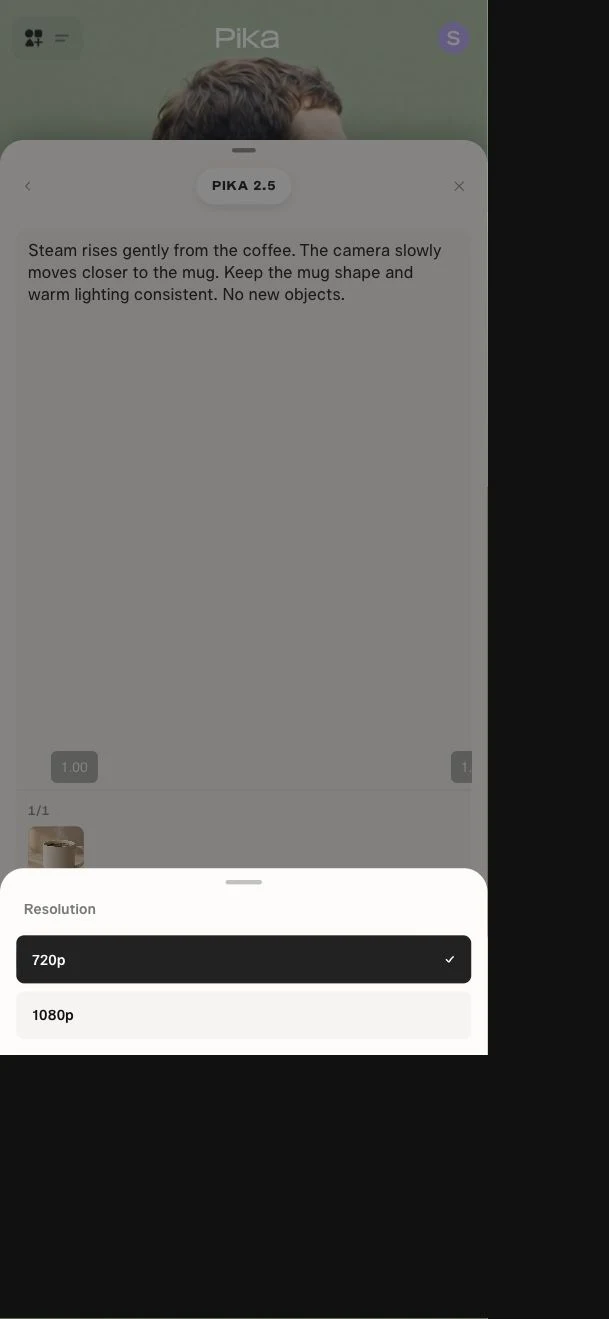
Tap Resolution. This Pika 2.5 panel offers 720p and 1080p. I use 720p for a small first attempt; select 1080p when your brief needs it and review the new estimate.
Step 6: choose duration and clip count
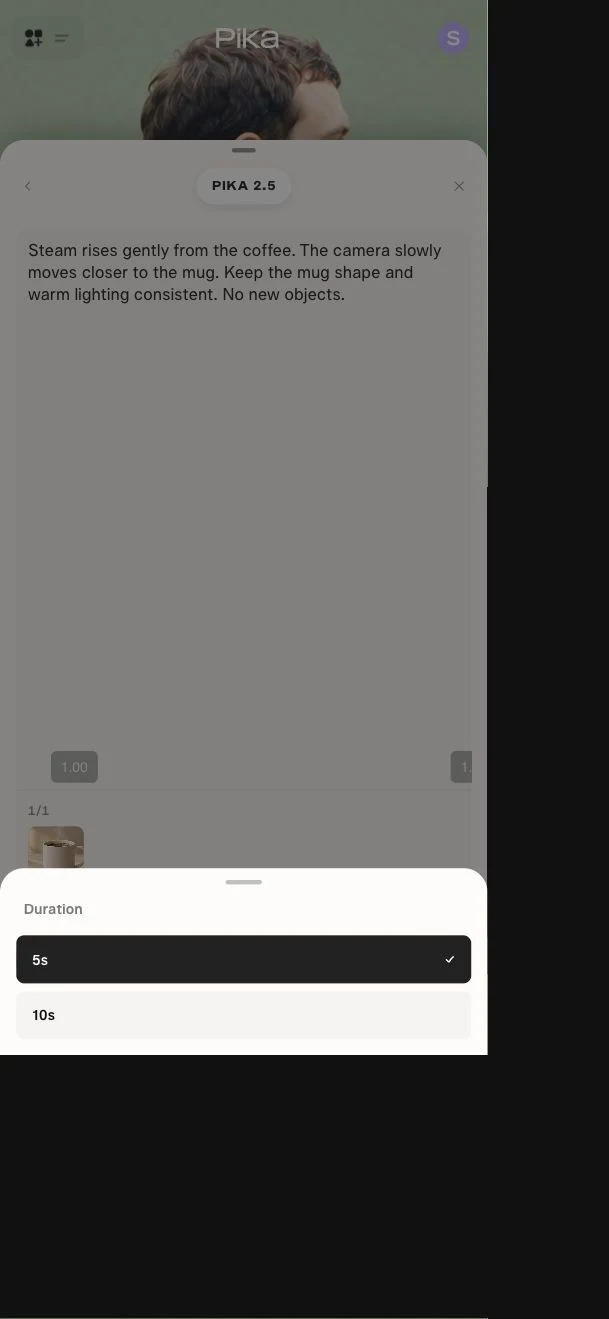
Tap Duration. With our photo attached, the menu offers 5s and 10s. We keep 5s for this example. Prompt-only Pika 2.5 uses five seconds.
Keep Generations at 1. The plus and minus controls change the number of clips; review the cost after changing it.
This dedicated panel does not provide an aspect-ratio or audio switch. Pika 2.5 creates silent clips. Prepare the photo’s crop before uploading, and use Pika Soundtrack when you want to add sound later.
Step 7: review credits, then generate
Check these four items before tapping Generate:
- The correct photo is attached and its upload has finished.
- The prompt describes the movement you want.
- Resolution is 720p, duration is 5s and count is 1 for this example.
- The displayed estimate fits your available balance.
Our prepared form shows 20 credits for this combination. Treat the amount on your own Generate button as the relevant quote; changing the model, settings or count can change it.
Use the credit calculator to leave room for another attempt. If a button shows a range, budget against the upper number instead of assuming the lower number is the full cost.
Step 8: find and check your clip
Open the mobile menu and use Jobs to check processing, or Library and Projects to find your work. Open the completed video and watch it from beginning to end.
Check the product’s shape, unexpected hands or objects, the camera movement and the ending. Save the original through the completed asset’s download action before making a social-media crop. Your phone browser may save to its downloads area or ask where to store the file.
For a recorded clip, settings and result review, see our image-to-video tutorial or matched photo and text examples.
A short phone workflow
Prepare the photo → open Pika 2.5 → expand the composer → attach the image → write the motion → choose settings → review credits → generate → check the whole clip.
Keep your prompt in a notes app as well. It makes a later revision easier, especially when switching between a browser tab and your downloaded video.